
In the vast majority of cases, EXE’s created by Nuitka will load in under 5 seconds. Sometimes however, your application might be very big and include many libraries and have a load time of over 5 seconds. To improve the User experience (while they wait), in this tutorial we will teach you how to Add a Splash Screen to your Nuitka EXE.
Nuitka Splash Screen Tutorial
One small caveat about the Nuitka Splash Screen (as of early 2023), is that it is only available for onefile mode. This isn’t really much of an issue though, as the other mode (standalone) actually has a faster load time, whereas onefile takes longer. Hence, it is in more need of the Splash Screen.
The command to include a splash-screen is shown below.
--onefile-windows-splash-screen-image=C:\Users\CodersLegacy\Desktop\Splash.pngThe option itself is called --onefile-windows-splash-screen-image. We need to assign it a filepath to where our image is located.
Now before we begin using this command, we have to add some special code to our Python file. The Splash screen will still display, but it will not close until we add this code.
import os
import tempfile

# Loading Code
# e.g. Reading Files/Fetching data from Internet

# Use this code to signal the splash screen removal.
if "NUITKA_ONEFILE_PARENT" in os.environ:
   splash_filename = os.path.join(
      tempfile.gettempdir(),
      "onefile_%d_splash_feedback.tmp" % int(os.environ["NUITKA_ONEFILE_PARENT"]),
   )

   if os.path.exists(splash_filename):
      os.unlink(splash_filename)

print("Splash Screen has been removed")

# Rest of the Application
What this code does is check for, and locate the splash screen image (included inside the temporary folder which onefile mode unpacks everything into), and then unlinks it.
Note: Remember to include the tempfile and os imports.
No need to focus on the code too much. It is of more importance that you place it correctly. This ensures the Splash Screen is present until your application is fully loaded.
Now all we have to do is add this option to our Nuitka compilation command.
Here is a sample command that we used (for a Tkinter application).
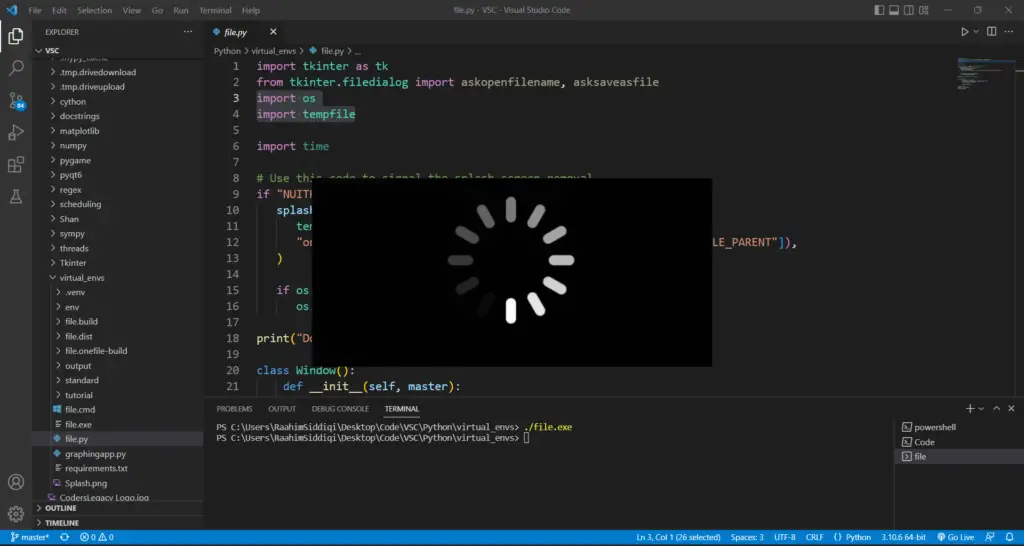
python -m nuitka --onefile --onefile-windows-splash-screen-image=C:\Users\CodersLegacy\Desktop\Splash.png --enable-plugin=tk-inter file.pyHere is a screenshot of using loading the application (with the splash screen showing).
And here is the Splash Screen image we used, just in-case you want to use it too.

This marks the end of the “Add a Splash Screen to Nuitka EXE” Tutorial. Any suggestions or contributions for CodersLegacy are more than welcome. Questions regarding the tutorial content can be asked in the comments section below.