
A short guide on how to access the Windows form mode on Visual Studio 2019.
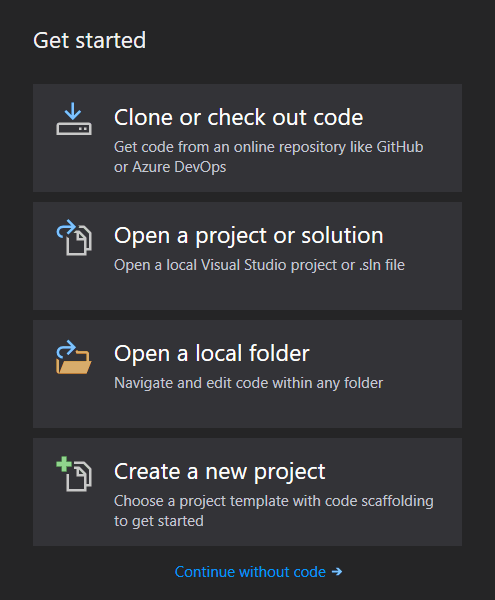
- First, boot up the Visual Studio 2019 software. You should see the following section open up in the resulting window along with your recent files.
2. Select the Create a new project setting to proceed further to proceed to the Project Creation window.
3. Next you’ll see the following window open up where you can select different modes and settings and even in different programming languages. Here you can search from amongst dozens of pre-determined templates, what kind of project you want to build. Each template provides some base code to help you get started.
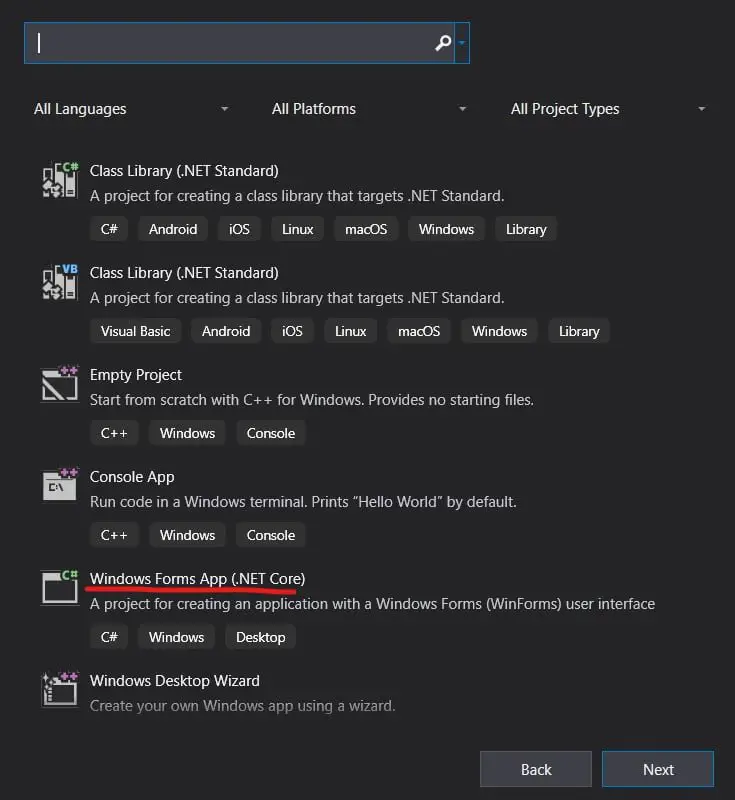
Over here you can pick the Windows Form App option, and Visual Studio will open up the appropriate code template for you.
Note, Windows Form App is available in both C# as well as Visual Basic.NET. Be sure to check which one you have selected before hitting the create project button.
This marks the end of the Visual Studio Windows Form Article. Suggestions or contributions for CodersLegacy are more then welcome. Questions regarding the article content can be directed to the comments section below.