
What is a Database?
A database is an organized collection of data, generally stored and accessed from a computer system. The data is stored in tables present in the database, in the form of rows and columns.
Database Management System
The database management system (DBMS) is the software that interacts with end users, applications, and the database itself. The DBMS software additionally encompasses the core facilities provided to administer the database. The sum total of the database, the DBMS and associated applications can be referred to as a “database system”.
There are many DBMS’s out there such as MySQL and SQLite. SQLite is a small portable DBMS that does not require any installation and has no dependencies. MySQL is a more fully fledged DBMS than SQLite and is used more widely, hence we will be using MySQL as our reference DBMS throughout our website, Coderslegacy. Both of them use the same Language SQL, so any MySQL user can use SQLite and vice versa.
Downloading and Installing the DB
We’ll be installing the database using XAMP stack. (WAMP stack is another such option) You can download it from this link. XAMP stack will also download for us phpmyadmin which provides a web based front-end to access the database.
In order for a database to exist there needs to be a server. What WAMP stack does is to create a server on your computer, which we refer to as the local host.
Due to the 24/7 need of a server to be online, we do not use our own computers as servers, instead purchasing the services of companies with specially designed computers that can run around the clock. A database’s most common use is possibly it’s role in a Website. And if the server goes down for even a few minutes, a website can take significant losses. The bigger the website, the bigger the loss.
Warning! It’s best to write down your phpmyadmin username and password. As everything is installed on your PC, there is no “forget password” option. If you lose it once, the only solution is to re-install everything, losing your data in the process.
Localhost and phpmyadmin
Once you’ve installed the WAMP/XAMP stack successfully on your PC, our next step is to access the Database. We can do so using the phpmyadmin front end. You can access the localhost from the web browser. So head over to your web browser’s search bar. We’ll be using Chrome in this example.
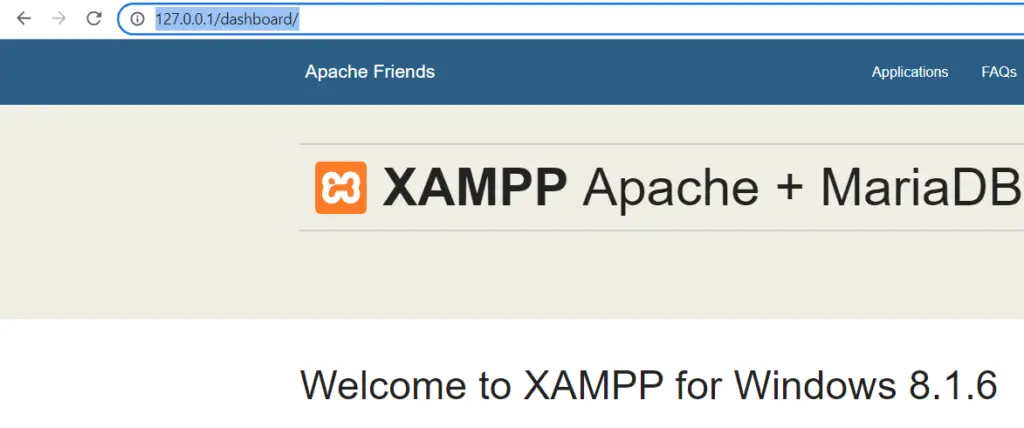
Every server has a IP address that we can use to access it. Similarly, our local host also has an IP address. Everyone has the same localhost address as it only needs to be unique to one device (hence the name localhost).
Localhost IP: 127.0.0.1
From here, navigate to the “Applications” tab, where you’ll find the link to your phpmyadmin database.
You can also directly access phpmyadmin by typing "localhost/phpmyadmin". Similarly you can access the localhost directly by simply typing "localhost" into the search bar.
You will now be greeted the log-in screen for phpmyadmin. Once you’ve gotten through this, you’ll have full access to your database. Whether you wish to start a website, practice using SQL or store data, the choice is yours.
If you are interested in learning more about Database theory and how they really work, refer to this article here for a compilation of great resources for learning Databases.
If you’re interested in setting up a website (which requires a database), head over to our Setting up Websites with WordPress guide!
And that concludes our Setting up a Database Guide. Let us know if you have any suggestions or complaints about this guide.