This article covers Alert dialogs in JavaFX.
“Alerts” in JavaFX are basically predefined prompts or dialogs meant to convey some information to the User. There are many different types of Alerts in JavaFX that we’ll be going through in this tutorial.
We’ll be using the JavaFX Alert Class to create these dialogs.
Be sure to check out our Input Dialogs with JavaFX article as well!
JavaFX Alert Class
In order to use the JavaFX Alert Class which is used to create Alert Dialogs, we need to first create an Alert object. It’s necessary to specify what type of alert you want when creating an object. You have the following 5 options.
- AlertType.NONE: Used when you don’t want to create a specific type of Alert Dialog. Can be adjusted later on to another type using the
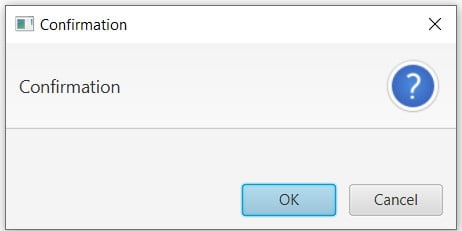
setAlertType()function. - AlertType.CONFIRMATION: Used to create a type of dialog which seeks confirmation from the user with the use of yes/no buttons.
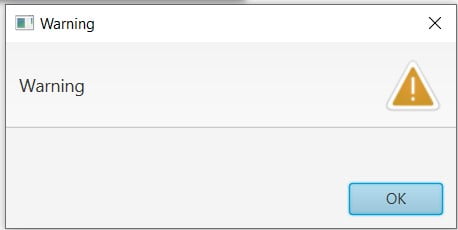
- AlertType.WARNING: Creates a “warning” dialog which alerts the user to some potential problem or important notification.
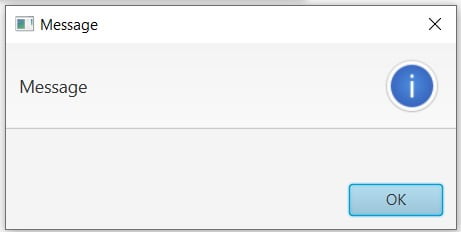
- AlertType.INFORMATION: Creates a dialog designed to “inform” the user about a certain event or some important information.
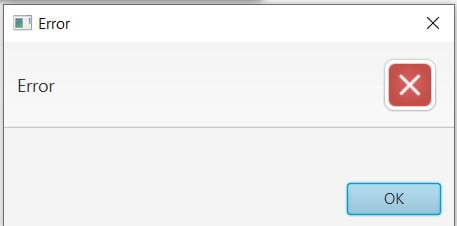
- AlertType.ERROR: Used to a create an “Error message” dialog for when a problem occurs (such as a missing file).
Alert alert1 = new Alert(AlertType.CONFIRMATION);
alert1.show();

Alert alert2 = new Alert(AlertType.INFORMATION);
alert2.show();

Alert alert3 = new Alert(AlertType.WARNING);
alert3.show();

Alert alert4 = new Alert(AlertType.ERROR);
alert4.show();
Once you’ve decided on the type of dialog you want, you can create it using the above format. Once you’ve created an Alert, you can trigger it using the show() method.
Below are the images of the 4 dialogs produced.
JavaFX Alert Dialog Example
In this section we’ll focus on a single Alert dialog type and how to customize it. All the Alert types we discussed above share the same properties and attributes so if one function works on one, it will work on all.
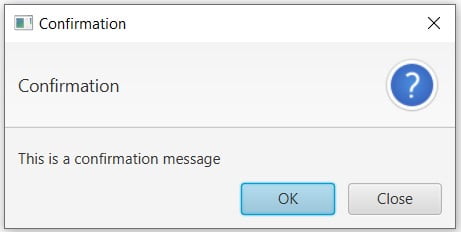
The Alert Class can actually take up more than just a single parameter. As a second parameter it can take the text that is to appear on it (see the output image below) and it can also take (as a third+ parameter) buttons of your choice.
A small list of different types of buttons that you can use:
- ButtonType.APPLY
- ButtonType.CANCEL
- ButtonType.CLOSE
- ButtonType.FINISH
- ButtonType.NEXT
- ButtonType.NO
- ButtonType.OK
- ButtonType.PREVIOUS
- ButtonType.YES
The below code will create a button that when pressed, will create an Alert dialog. We’ve also demonstrated the use of the setAlertType() method down below.
package application;

import javafx.geometry.Insets;
import javafx.stage.Stage;
import javafx.scene.Scene;
import javafx.scene.control.Alert;
import javafx.scene.control.Alert.AlertType;
import javafx.scene.control.Button;
import javafx.scene.control.ButtonType;
import javafx.scene.layout.VBox;


public class Tutorial extends Application  {
	public static void main(String args[]){
		 launch(args);
	}

	@Override
	public void start(Stage primaryStage) throws Exception {

		Alert alert = new Alert(AlertType.NONE,  "This is a confirmation message",
				                ButtonType.CLOSE, ButtonType.OK);

		Button button = new Button("JavaFX Alert Dialog");

		button.setOnAction(e -> {
			alert.setAlertType(AlertType.CONFIRMATION);
			alert.show();
		});


		VBox layout = new VBox(button);
		layout.setMargin(button, new Insets(20,20,20,20));

		Scene scene = new Scene(layout, 300, 200);

		primaryStage.setTitle("CodersLegacy");
		primaryStage.setScene(scene);
		primaryStage.show();
    }
}
The GUI output of the above JavaFX example:
While we used the Parameters of the Alert Class to add in things like text and buttons, you can use these two methods instead.
setHeaderText()– Change the Header text that appears on the dialog.setContentText()– Sets the text that is displayed in the main text area of the dialog.
This marks the end of the JavaFX Alert Dialogs article. Any suggestions or contributions for CodersLegacy are more than welcome. Questions regarding the article content can be asked in the comments section below.
