
This tutorial explains how to create a project in Scrapy.
Starting a Project in Scrapy can be a little confusing for beginners. Hence we’ll be clearing away any doubts in this detailed tutorial on Project Creation in Scrapy.
Setting up a Scrapy Project
We’ll be using the PyCharm IDE to create our Scrapy project. It’s a pretty good and popular IDE and makes managing Scrapy Projects quite easy. You can follow this tutorial using any other IDE with a built-in terminal, or by using the command prompt (Windows) or bash terminal (Linux).
Open up the IDE of your choice and then create a new project. You can find the “New Project” button in the file menu usually. The name of our Scrapy project is Scrapy_proj.
Next run the following line of code in the command terminal of the IDE to begin a scrapy project. The command terminal is typically located near the bottom left.
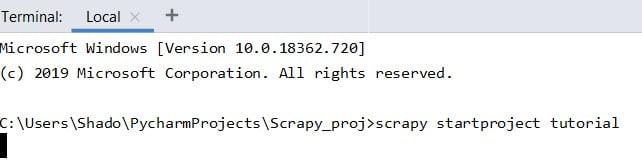
scrapy startproject tutorialOnce this command has been run, a folder with the same name as the project (tutorial in this case) will be created. It will contain the same files as shown in the image below. You can choose whatever name you want., just keep it something meaningful.
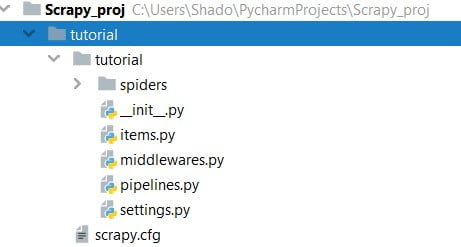
The Spiders folders is where we’ll be creating all our “Spiders”. Our main code will be written in this folder. Right click on the spiders folder and create a new file as shown in the image below.
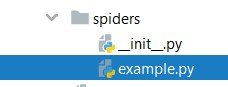
You can create more than just one Spider in the spiders folder. Just create another file using the new file option, but with a different name.
Further Reading
Once we’ve reached this point, we can finally begin writing scrapy code. Remember to select the example.py file and open it up in the main window. We’ll be writing our main code for our Python Scrapy tutorial here. Follow the link to more about scrapy concepts and how to create a spider.
You can also choose to begin learning how to use the Scrapy shell before moving onto spiders. The shell allows you to quickly execute and test out scrapy expressions and extraction methods, without having to create a spider.
This marks the end of the “Create a Project in Scrapy” Tutorial. Any suggestions or contributions for CodersLegacy are more than welcome. Questions regarding the article content can be asked in the comments section below.