
In this wxPython Tutorial, we will demonstrate how to use the Button Widget, alongside it’s various styles, features and functions. A complete list of options will be included here, alongside several code examples for your convenience.
wxPython Button Syntax
Found Below is the Syntax for creating a Button Widget in wxPython.
myButton = wx.Button(parent, id, label, pos, size, style) Description of Parameters:
parent: This is the Widget to which it is parented, such as a Panel.id: Button ID. Default value is ID_ANY, which gives it the next available ID.label:The Text which appears on the Button.pos:A tuple which contains the coordinates of where the topleft corner of the Button should begin from.size:A tuple which defines the dimensions of the button.style:Used for styling the button (such as Alignment)
Button Styles
A list of available styles for the Button Widget.
| Button Style | Description |
|---|---|
| wx.BU_LEFT | Aligns the Label to the Left |
| wx.BU_TOP | Aligns the Label to the Top |
| wx.BU_RIGHT | Aligns the BitMap Label to the Left |
| wx.BU_BOTTOM | Aligns the Label to the Bottom |
| wx.BU_EXACTFIT | Overrides the Default settings, and ensures button is just big enough to fit the contents. |
| wx.BU_NOTEXT | Disables the display of the text label in the button even if it has one. |
| wx.BORDER_NONE | Creates a button without border. |
Note: Some of these Styles are not available on certain OS’s.
Example Code
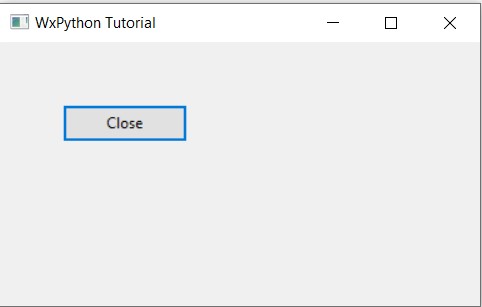
In the example below, we have created a simple Button Widget in our wxPython Window.
import wx

class Window(wx.Frame):
    def __init__(self, title):
        super().__init__(parent = None, title = title)
        panel = wx.Panel(self)

        closeButton = wx.Button(panel, label = "Close", pos = (50,50), size = (100,30))
        closeButton.Bind(wx.EVT_BUTTON, self.closeWindow)

        self.Centre()
        self.Show()

    def closeWindow(self, e):
        wx.CallAfter(self.Close)


app = wx.App()
window = Window("WxPython Button Tutorial")
app.MainLoop()
A few interesting things to note:
- We have skipped the ID field (this will cause it to revert to it’s default value)
- We have used the
sizeoption to create a button 100 pixels wide, and 30 pixels tall. - We have used the
posto place the button at the (50, 50) coordinate of the window. The (50, 50) coordinate will be the topleft corner of the button. - We have used the special event reserved for Buttons,
wx.EVT_BUTTONand the function we made,closeWindow()and bound them together usingbind(). (This states that whenever the EVT_BUTTON event is detected, call the specified function) - The
wx.CallAfter(self.Close)is a more safe way of closing the Window instead ofFrame.Close().
Output of the above code:
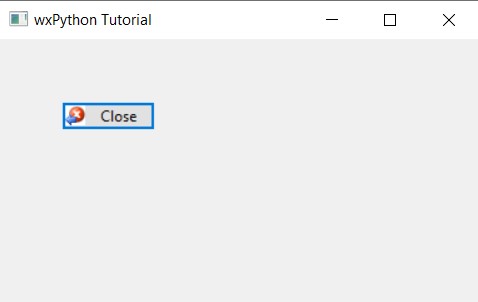
Displaying Images on Button Widget
The Button Widget comes with a built in feature that allows you to set a Bitmap image to the button, effectively making it a Image Button.
First we need to create a Bitmap Object using the filepath to a valid image.
self.closeIcon = wx.Bitmap("delete.bmp")
Next we just need to use the SetBitmap() Function, which takes the Bitmap that we created earlier as a parameter.
 self.closeButton = wx.Button(self.panel, pos = (50,50), label = "Close")
 self.closeButton.Bind(wx.EVT_BUTTON, self.closeWindow)
 self.closeButton.SetBitmap(self.closeIcon)
The Complete Example Code:
import wx

class Window(wx.Frame):
    def __init__(self, title):
        super().__init__(parent = None, title = title)
        self.panel = wx.Panel(self)

        self.closeIcon = wx.Bitmap("deleteSticky.bmp")

        self.closeButton = wx.Button(self.panel, pos = (50,50), label = "Close")
        self.closeButton.Bind(wx.EVT_BUTTON, self.closeWindow)
        self.closeButton.SetBitmap(self.closeIcon)

        self.Centre()
        self.Show()

    def closeWindow(self, e):
        wx.CallAfter(self.Close)


app = wx.App()
window = Window("wxPython Button Tutorial")
app.MainLoop()
Output:
This marks the end of the wxPython Button Widget Tutorial. Any suggestions or contributions for CodersLegacy are more than welcome. Questions regarding the tutorial content can be asked in the comments section below.