
In this PyQt5 Tutorial, we will discuss how to use the ListView widget to display a list of items in our PyQt5 Application in the form of a GUI “Box”. It requires quite a bit of setup and extra code, but allows for a high-degree of customization.
Creating a QListView widget
Let’s break down the code required for the QListView widget, and discuss it piece by piece.
First we need to make all the required imports. You can notice several new imports here, all of which are used by the QListView widget.
from PyQt5.QtWidgets import QListView, QApplication, QWidget, QVBoxLayout
from PyQt5.QtGui import QStandardItemModel, QStandardItem
from PyQt5.QtCore import QModelIndex
import sys
Next, we will setup our basic Window, along the required PyQt5 code to launch an empty window. The code below features us setting a simple “Window” class with a single layout where we will place all our widgets.
class Window(QWidget):
    def __init__(self):
        super().__init__()
        mainlayout = QVBoxLayout()
        self.setLayout(mainlayout)

app = QApplication(sys.argv)
window = Window()
window.show()
sys.exit(app.exec_())
The rest of the code is just for the basic PyQt Application setup.
Now we will focus on creating the QListView widget. All of the code written from this point onwards is meant to be placed inside the Window Class.
        self.listView = QListView()
        self.model = QStandardItemModel()
        self.listView.setModel(self.model)
        self.listView.setObjectName("listView-1")
In the above code, we have done 4 things. First we created the List View widget using the QListView Class. Next we created a “Model” for our List view. This model provides us with the functionality of adding and storing items inside the List View widget.
We then add this model to our QListView, and finally give our List View a name (not really important).
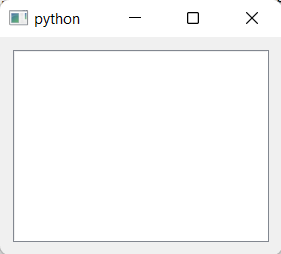
mainlayout.addWidget(self.listView)
If we now add our ListView to the Layout and run our code, we get the following result.
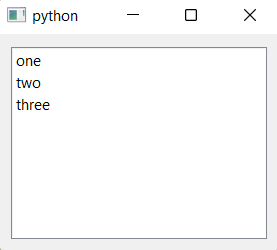
We now need to add some items to our List View. This can be done pretty easily by defining a list of values and iterating over it while adding each individual element to the Model we defined earlier.
        values = ['one','two', 'three']
        for i in values:
            self.model.appendRow(QStandardItem(i))
You need to convert anything you add to the ListView to an appropriate form first, using QStandardItem. Running our code now gives us the following output!
Get Selected Value from PyQt5 ListView
Now that we have our List View populated with some options, we need to add some actual functionality to it. Currently if the User selects an option on the ListView, we have no way of knowing which one he selected.
We will make use of the Signal and Slots Feature, to connect a function called "on_clicked" to our List View as shown in the code below.
self.listView.clicked[QModelIndex].connect(self.on_clicked)
The QModelIndex is another import that must be made, so don’t forget to include it (refer to the code at the top of the article where we made all the imports)
Next we will define this "on_clicked" function. List View will automatically pass the index of the currently selected value to this function once we have connected it as shown above. We want the “value” of the selected item though, not just the index.
    def on_clicked(self, index):
        item = self.model.itemFromIndex(index)
        print (item.text())
This function uses the itemFromIndex() method on the model, which takes an index as a parameter and returns the item object at that index. We can the access the text value of this item by calling the text() method on it.
Using ListView with other Widgets (e.g Buttons)
Right now we are relying on the List View widget to automatically send it’s current index to the function that we have defined. This is only possible if the List View widget itself is calling the function. Sometimes we may need to query the current Index from other widgets (such as a button).
How will we handle such a situation? This solution is quite easy. The QListView widget provides us with a function which provides us the data and index of the currently selected item. Try connecting the below function to a Button and see the result!
    def on_clicked(self, index):
        data = self.listView.currentIndex().data()
        index = self.listView.currentIndex().row()
        print(index, data)
Note: This Widget may seem a little difficult to use, because it is actually a lower level version of QListWidget. QListView is very customizable and supports more features. QListWidget on the other hand is more high-level, which means its alot easier to use at the cost of less customization. Follow this link for a tutorial on QListWidget if you are interested.
This marks the end of the PyQt5 ListView Tutorial. Any suggestions or contributions for CodersLegacy are more than welcome. Questions regarding the tutorial content can be asked in the comments section below.