
Automating any kind of task is pretty tricky, and the more complex the task, the harder it is to automate. At some point or the other, the need for Image Recognition with Pyautogui arises, so that we can locate elements on the screen. Without this feature, we would face numerous issues, such as being unable to find an element if it’s position on screen was slightly changed.
How Image Recognition works in PyAutoGUI
First we need to understand how exactly image recognition works in Pyautogui. Simply put, PyAutoGUI has a variety of “locate” functions, which take a source image as a parameter, and then try to find a match from whatever is currently displaying on your screen. (This means if you are searching for something that is currently minimized, or off-screen, then PyAutoGUI will not be able to find it).
Once a match has been found, depending on the function called, we can either have it’s top-left coordinates returned, or a “Box” object, with the top-left coordinates as well as the width and height.
Here are some of the various functions that we can use in Pyautogui for Image Recognition.
- locateOnScreen(image) -> Returns (left, top, width, height) coordinate of first found instance of the
imageon the screen. - locateCenterOnScreen(image) -> Returns the x and y coordinates of the center of the first found instance of the
imageon the screen. - locateAllOnScreen(image) -> Returns a list with (left, top, width, height) tuples for each image found on the screen.
Image Detection with PyAutoGUI
We will now show you a small example of how we can practically apply Image recognition in Pyautogui, and automate a task.
Calculator App
We will be creating a simple program that uses the Calculator app in Windows, and performs a simple addition operation on it between two numbers. Here is what the app looks like on PC.
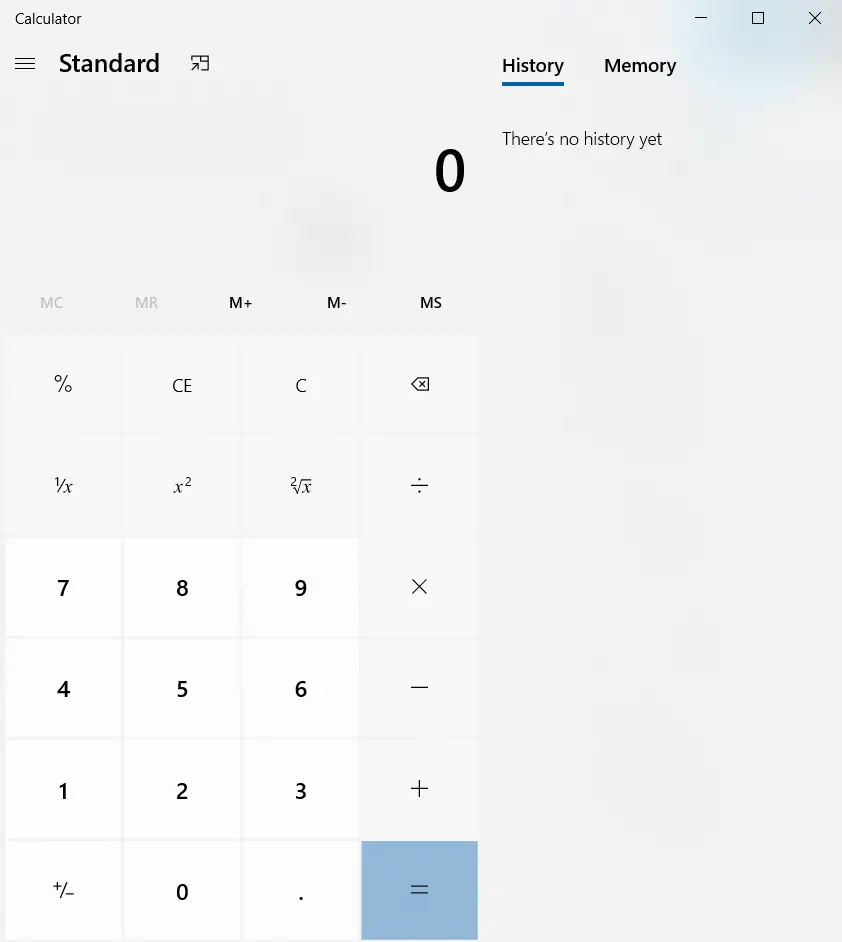
For this program, I have taken screen-shots of 4 of it’s buttons, pictured below.

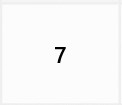
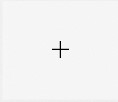
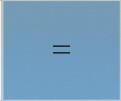
Note: These images, may or may not work for you. The Pyautogui functions for image detection needs the correct image dimensions, so if the default calculator app size is different on your system, then it won’t return a match. I advise you to take the screenshots yourself. (I used Windows Snipping tool + Paint)
Now let’s try using one of the above-mentioned functions for image detection. We will use the one with just returns the x and y coordinates, as we aren’t concerned with the width or height right now.
import pyautogui

x, y= pyautogui.locateCenterOnScreen("5.jpg")
pyautogui.moveTo(x, y, duration = 0.1)
pyautogui.leftClick()
Now what this code should do, is locate the number 5 on the calculator, move the mouse cursor over to it, and then click it. However, this code and the underlying logic is pretty tricky, so there is a very good chance you will face an error here.
Let’s try and analyze why these errors can occur, and how to get around them.
Possible Errors, and their Reasons
1# The most obvious issue is that you don’t have your Calculator App open on screen. Even if it’s open however, there can be issues. For example, you have it minimized or it is being covered by some other window. Both of these cases will cause it to fail.
2# You may have tried re-sizing the Calculator Window. If for example, the image you took was of dimensions 20×20, and the button on the calculator has been resized to 40×40, then it will not return a match.
3# (MOST IMPORTANT) You tried using a .jpg instead of a .png. (And yes, I know I used a .jpg in the above example). I will be addressing this issue in the next section in more detail.
Using PyAutoGUI with OpenCV
(Don’t be scared off by the title, it’s alot easier than it looks, trust me)
The problem with the default use of pyautogui is that it searches only for exact matches. But often that’s not very practical, as there can be minor changes in color, tone, etc. Luckily pyautogui offers a simple solution.
All of it’s locate functions have the confidence parameter, which takes in a float value ranging from 0 to 1.0. The default value is 1.0, which states that only 100% matches should be returned. If you gave a value of 0.8 on the other hand, it will return matches that only match atleast 80%.
Now I mentioned in the earlier that a .jpg would (likely) not work. This is because they apply compression on the image, which slightly changes the pixel composition, hence it returns a “not found” exception. Using the confidence parameter will remove this problem entirely. Just set a value like 0.9, and it won’t cause any problems.
There is one slight caveat to this though. You must have OpenCV installed, as it is a dependency for the confidence parameter to work. The full OpenCV package is a bit complex to install, luckily there is a smaller version (with lesser features) we can acquire that will be enough for our purposes.
Run the following command:
pip install opencv-pythonNow let’s get back to our code.
Completing our Program
I will write out the complete code here, that I have used to automate this task. Try it out yourself and let me know the results!
import pyautogui

x, y= pyautogui.locateCenterOnScreen("5.jpg", confidence = 0.9)
pyautogui.moveTo(x, y, duration = 0.1)
pyautogui.leftClick()

x, y= pyautogui.locateCenterOnScreen("plus.jpg", confidence = 0.9)
pyautogui.moveTo(x, y, duration = 0.1)
pyautogui.leftClick()

x, y= pyautogui.locateCenterOnScreen("7.jpg", confidence = 0.9)
pyautogui.moveTo(x, y, duration = 0.1)
pyautogui.leftClick()

x, y= pyautogui.locateCenterOnScreen("equals.jpg", confidence = 0.9)
pyautogui.moveTo(x, y, duration = 0.1)
pyautogui.leftClick()
Normally I would have provided the images as a download, but due to various problems that can occur, it’s best if you do that part yourselves.
Another interesting feature that PyAutoGUI has that may come in handy for you, is the Screenshot ability. This allows you take to take screenshots of the full screen or of specific regions, and save them to a file.
Note: For a complete project based around this idea, you would need to take images for each button. To make it even more interesting, you could have the user enter expressions, and the program will automatically solve it.
This marks the end of the Image Recognition with Pyautogui Tutorial. Any suggestions or contributions for CodersLegacy are more than welcome. Questions regarding the article content can be asked in the comments section below.
Thank you so much.
Your tutorial is very very helpful