
PyAutoGUI is a powerful automation library in Python that is used to automate the mouse and keyboard. One of it’s many supporting features, is Image Recognition. If given an image, PyAutoGUI can automatically detect whether that image is present on your screen, and if it is, where it is located. Using OpenCV with PyAutoGUI allows you to further enhance these Image Recognition abilities, beyond just the basics.
Limitations of Native PyAutoGUI Image Recognition
Let’s first start off with a simple example using PyAutoGUI without OpenCV. As I am using Windows, I will be using the Windows 10 Calculator App as an example throughout this tutorial.
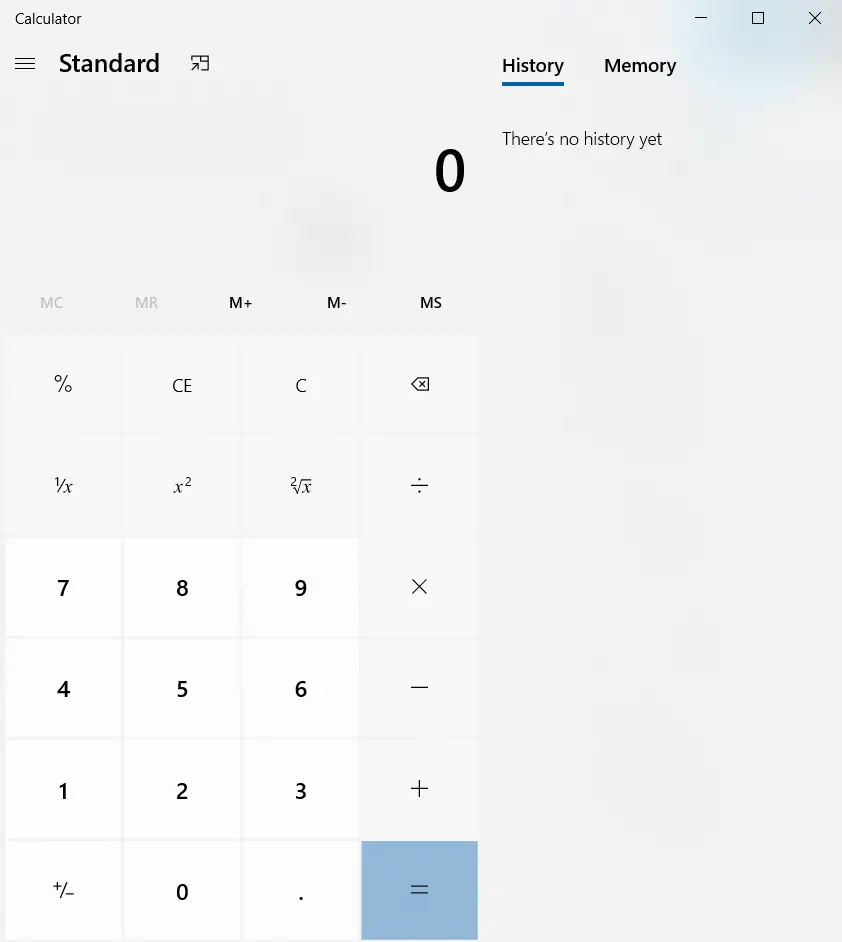
Our goal is to make our Python program successfully identify the individual buttons on the Calculator.

Here we have the Button 5, which I took as a screenshot from the Calculator App and then saved as an image file.
There are three main functions that we can use for detecting image matches on the screen.
- locateOnScreen(image) -> Returns (left, top, width, height) coordinate of first found match of the
imageon the screen. - locateCenterOnScreen(image) -> Returns the x and y coordinates of the center of the first found match of the
imageon the screen. - locateAllOnScreen(image) -> Returns a list with (left, top, width, height) tuples for each image found on the screen.
Let’s try using the locateCenterOnScreen function, to locate this button on our Calculator App. Remember to keep the Calculator App open and visible on the Screen, else it will return a None-Type object.
import pyautogui

x, y = pyautogui.locateCenterOnScreen("5.jpg")
print(x, y)
Now, there is a 90% chance this code did not work for you, and instead of printing out the x and y coordinates, it simply printed out None. Why did this happen? Before we give an explanation, you lets try this again using a png version of this image.

import pyautogui

x, y = pyautogui.locateCenterOnScreen("5.png")
print(x, y)
This code, under normal circumstances, will work. But why? Why did the .jpg image fail, while the .png one succeeded? We’ll answer this in the next section.
Note: I say, “normal circumstances” because there are alot of mistakes you could make while using these images. If the size of the Calculator app is different on your screen, my images will likely not work for you. It won’t return a match due to the difference in dimensions. So its best for you to take the Screenshots on your own device, then use those images. Or develop a program that negates the difference in dimensions.
Why we need OpenCV with PyAutoGUI
PyAutoGUI, checks for “exact” pixel-perfect matches. Which means that if there is even a few pixels that have been modified in any way, then the image will not return a match. The .jpg file we used earlier, was a compressed image, because .jpg itself is a compressed file type that produces images of a smaller size.
It does this by removing certain colors and minute details on a pixel level that are not easily visible to the human eye. These slight modifications cause it to fail the image recognition test.
.png on the other hand, preserves original look, so it returns a successful match. But we can’t always expect to be dealing png files, so we need an alternative. Or maybe we are interested in finding exact matches, as well as any other images on screen that are similar in nature.
This is where OpenCV comes in.
Using OpenCV with PyAutoGUI
All of the locate functions in PyAutoGUI have the confidence parameter, which takes in a float value ranging from 0 to 1.0. The default value is 1.0, which states that only 100% pixel matches should be returned. If you gave a value of 0.8 on the other hand, it will return matches that match atleast 80% or above.
For jpg images, if you keep a confidence of around 0.95 it will return a match. This can vary based off the level of compression applied.
This confidence parameter however, is a OpenCV feature. We won’t be using a different function or anything, but to use this parameter we need OpenCV installed. Installing the full version of OpenCV can be quite the hassle, so if you only need its basic functions for PyAutoGUI, then simply install the following pakcage.
pip install opencv-pythonThis is a mini-version of OpenCV for Python without the advanced stuff. More than enough for our purposes.
Now try the following code:
import pyautogui

x, y= pyautogui.locateCenterOnScreen("5.jpg", confidence = 0.9)
print(x, y)
This will successfully return the x and y coordinates of the center of the image match.
You can now try using the confidence interval in the other various functions offered by PyAutoGUI.
This marks the end of the OpenCV with PyAutoGUI article. Any suggestions or contributions for CodersLegacy are more than welcome. Questions regarding the tutorial content can be asked in the comments section below.