
This article explains how to use the JavaFX ToolBar with examples.
There are a few “must have” GUI components in every application to make it look professional. One of these GUI components is the Toolbar. A Toolbar is a multi purpose component, used to store icons, buttons, menu’s and other similar elements.
Here in this tutorial, we’ll be explaining how to create and use a Toolbar widget in JavaFX.
JavaFX ToolBar Example
Creating and using a ToolBar in JavaFX is easy. First create each individual element that you want to see on the JavaFX ToolBar, whether it’s a button or a menu.
Next you have to actually create the ToolBar itself with the ToolBar class. Finally, using the getItems() and addAll() methods you add all of the UI components you created into the ToolBar.
This way the ToolBar (and all it’s child nodes) will count as a single component. Useful if you’re using a layout like BorderPane which only has space for 5 components.
package application;

import javafx.application.Application;
import javafx.geometry.Orientation;
import javafx.stage.Stage;
import javafx.scene.Scene;
import javafx.scene.control.Button;
import javafx.scene.control.Separator;
import javafx.scene.control.ToolBar;
import javafx.scene.layout.VBox;


public class Tutorial extends Application  {
	public static void main(String args[]){
		 launch(args);
	}

	@Override
	public void start(Stage primaryStage) throws Exception {

		Button button1 = new Button("Copy");
		Button button2 = new Button("Paste");
		Button button3 = new Button("Close");

		ToolBar toolbar = new ToolBar();
		toolbar.getItems().addAll(button1, button2, button3);

		VBox layout = new VBox(toolbar);
		Scene scene = new Scene(layout, 250, 150);

		primaryStage.setTitle("CodersLegacy");
		primaryStage.setScene(scene);
		primaryStage.show();
    }
}
The GUI output of the above code:
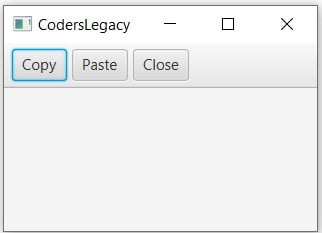
We used the addAll() method here, because we were adding multiple nodes (components) at once. If you are only adding a single component or want to add them one by one, then you can just use the add() method.
Vertical ToolBar
You can also a create a vertical ToolBar in JavaFX using the Orientation property. Adding the following line of code will set the Orientation of the ToolBar to vertical.
toolbar.setOrientation(Orientation.VERTICAL)

You can pick between two different orientations, Orientation.HORIZONTAL and Orientation.VERTICAL. By Default the Orientation of the ToolBar is Horizontal.
ToolBar with Separations
Using the JavaFX separator you can create divisions between the components in the ToolBar. Be careful of the order in which you place the separator into the ToolBar, as that effects where the separator appears.
                Separator separator = new Separator(Orientation.VERTICAL);

		ToolBar toolbar = new ToolBar();

		toolbar.getItems().addAll(button1, button2, separator, button3);

		VBox layout = new VBox(toolbar);
The Output:
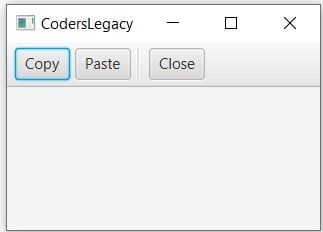
As you can see, it’s pretty good at creating divisions in a tool bar. In a toolbar with a lost of components, this is the ideal component to be using. You can learn more about separators in it’s own separate tutorial.
This marks the end of the JavaFX ToolBar article. Any suggestions or contributions for CodersLegacy are more than welcome. Questions regarding the article content can be asked in the comments section below.