
Creating multiple subplots in Matplotlib is a fairly simple task, as we outlined in this tutorial using subplots(). However, most of these techniques involve initializing both the figure and subplots (axes) at the same time. So how do we add subplots into an existing Figure in Matplotlib?
Adding Subplots to a Figure in Matplotlib
Lets say we have the following scenario. We want to initialize any empty figure using plt.Figure(), and add a subplot to it at a later date. How are we going to do so?
import matplotlib.pyplot as plt

fig = plt.figure()

# 1. Add a subplot
# 2. Plot something
plt.show()
Usually we use the plt.subplots to create our axes objects as shown below,
import matplotlib.pyplot as plt

fig, ax = plt.subplots()
ax.plot([1, 2, 3, 4], [2, 5, 8, 12])

plt.show()
But as we mentioned earlier, that isn’t really an option right now. There is another function we can use, which is actually a method available in the fig object called add_subplot().
import matplotlib.pyplot as plt

fig = plt.figure()
ax = fig.add_subplot(1, 1, 1)
ax.plot([1, 2, 3, 4], [2, 5, 8, 12])

plt.show()
If we run the above code, we get the following code:
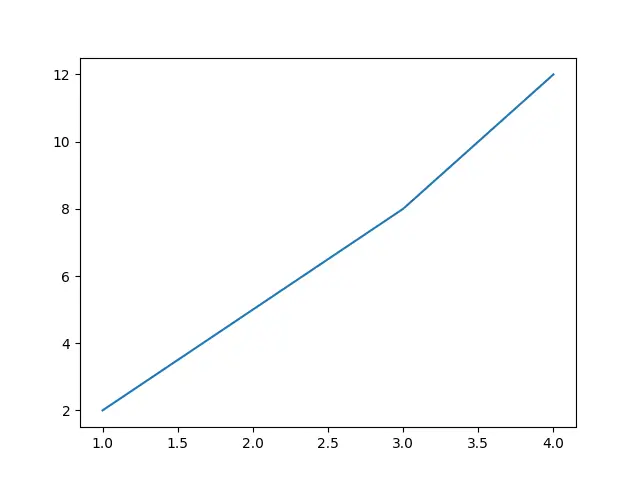
Yes, its working!
Lets go through the code again though. We need to explain how the add_subplot() function works. You may have actually seen this function before, and maybe even written in the following way (the difference is in the parameters)
ax = fig.add_subplot(111)
It is actually the same thing, but I prefer the first version as it is more readable. But what does this parameter mean? Well, the first two parameters represent how many rows and columns we are dividing our figure into. Since we have passed 1 into both, we have a 1×1 grid, with space for only one subplot.
The third parameter represents the position of the subplot. Since there is only one slot, we will just pass in one.
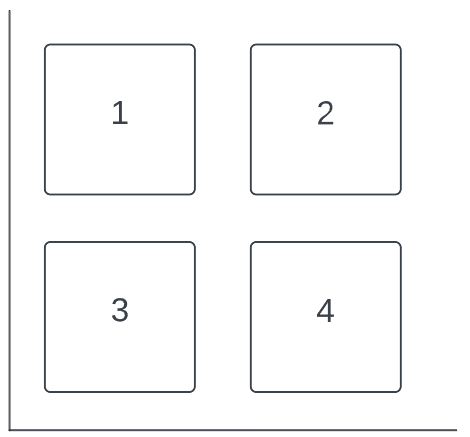
It is important to understand how the position is determined though. Basically, the “first” subplot is the top-left subplot. The “second” subplot (if any) is determined by moving “along the row”. So if we have a 2×2 grid, the second subplot is the top-right subplot.
If there are no more subplots in that row, we will move to the start of the next row. So for the third subplot in a 2×2 grid, we will move to the subplot in the next row (the bottom-left).
Here is a nice diagram to help you understand this.
Further Examples
Here are a few examples to help you understand the various ways in which we can add subplots to create interesting and complex layouts. If you have trouble understanding any of them, you should refer to our YouTube Video on this tutorial, where we do it all step by step.
All of these Axes objects will be kept empty (because that’s not really the point of the code). Just remember that the add_subplot() function returns an axes object which you can plot on normally (as we showed in the example earlier).
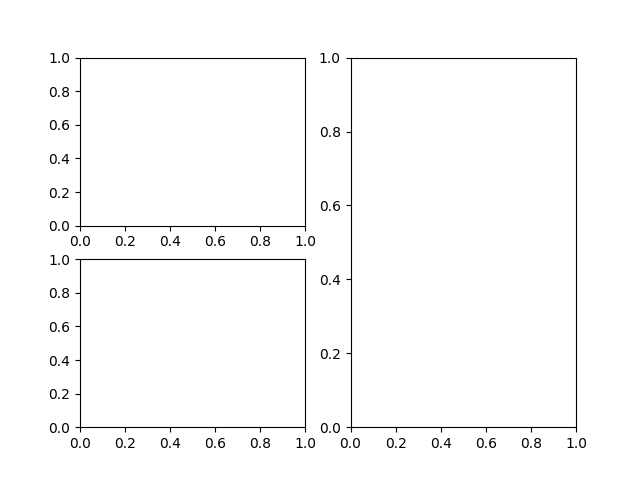
import matplotlib.pyplot as plt

fig = plt.figure()
fig.add_subplot(2, 2, 1)
fig.add_subplot(1, 2, 2)
fig.add_subplot(2, 2, 3)
plt.show()
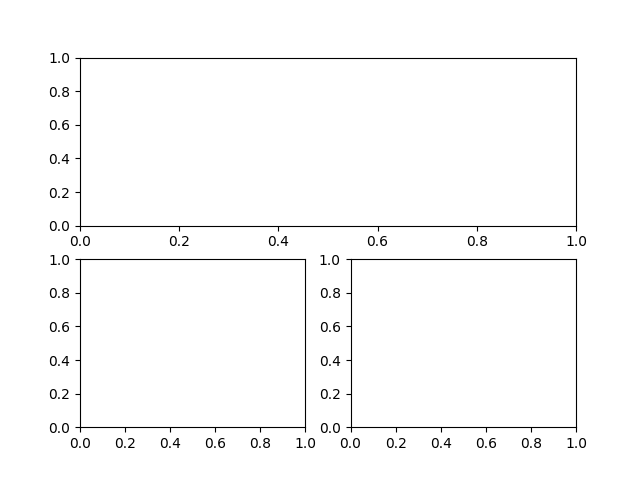
import matplotlib.pyplot as plt

fig = plt.figure()
fig.add_subplot(2, 1, 1)
fig.add_subplot(2, 2, 3)
fig.add_subplot(2, 2, 4)
plt.show()
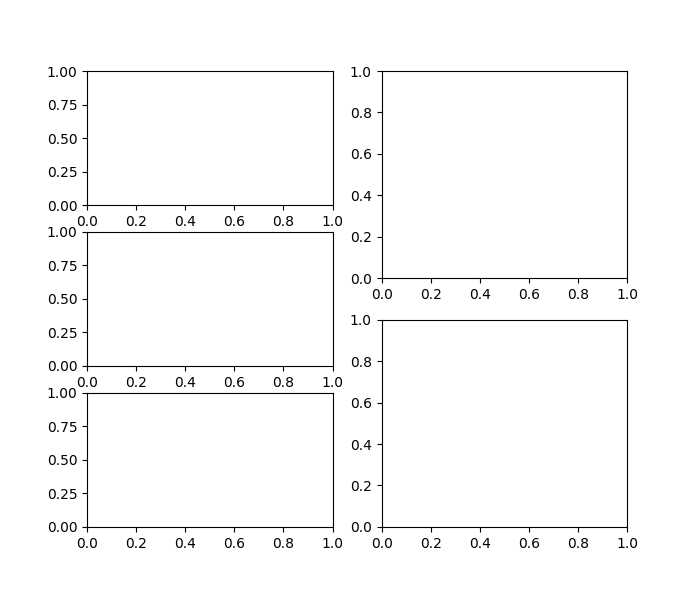
import matplotlib.pyplot as plt

fig = plt.figure()
fig.add_subplot(3, 2, 1)
fig.add_subplot(3, 2, 3)
fig.add_subplot(3, 2, 5)
fig.add_subplot(2, 2, 2)
fig.add_subplot(2, 2, 4)
plt.show()
You can use the figsize parameter in the figure() function to increase the window size if the subplots don’t fit properly. Like so:
fig = plt.figure(figsize = (8, 8))
This marks the end of the Add Subplots to existing Figure in Matplotlib Tutorial. Any suggestions or contributions for CodersLegacy are more than welcome. Questions regarding the tutorial content can be asked in the comments section below.