
Matplotlib has various “events” that trigger once certain actions have been performed. Examples of such actions are when you click on a Matplotlib graph, press a key, or resize the matplotlib window. This tutorial is about how we can detect these Matplotlib events and how we can proper handle them.
But what does it mean to “handle” an event? To explain this, we need to understand how events work. An event by itself does nothing. It is merely an indicator of an action occurring. What we need to do is “bind” a function to an event. This function (that we create) will be responsible for “handling” the event (such as printing something to console).
To “bind” a Function to an Event means that whenever the event occurs, the function will be called too. Simple, right? Now lets take a look at some code!
Events in Matplotlib
Every event in Matplotlib has a name which we will use when binding it to a function.
| Event name | Description |
|---|---|
| ‘button_press_event’ | When (any) mouse button is pressed. |
| ‘button_release_event’ | When (any) mouse button is released |
| ‘close_event’ | Whenever a Figure is closed |
| ‘draw_event’ | Occurs when canvas has been drawn. |
| ‘key_press_event’ | When (any) key is pressed |
| ‘key_release_event’ | When (any) key is released |
| ‘motion_notify_event’ | Triggers when the mouse moves. |
| ‘pick_event’ | When an Artist in the canvas is selected |
| ‘resize_event’ | If the Figure canvas is resized |
| ‘scroll_event’ | Triggers with the mouse scroll wheel. |
| ‘figure_enter_event’ | When the mouse enters a new figure. |
| ‘figure_leave_event’ | When mouse leaves a figure. |
| ‘axes_enter_event’ | Whenever the mouse enters an axes. |
| ‘axes_leave_event’ | Whenever the mouse leaves an axes. |
How to connect Events to Functions
Lets discuss an example or two to help you understand how to use Events in Matplotlib.
For our first example we will connect the “button press event” to a function that prints a simple message on the console. First however, we need to actually create our Matplotlib graph, which we have done in the below code.
import tkinter
import matplotlib.pyplot as plt
import numpy as np

fig, ax = plt.subplots()
t = np.arange(0, 3, .01)
line, = ax.plot(t, 2 * np.sin(2 * np.pi * t))
ax.set_xlabel("time [s]")
ax.set_ylabel("f(t)")

plt.show()
Now we can add an event to our Matplotlib figure. You can even connect events to regular objects in the Matplotlib window, such as a single point or a plotted line. (We will discuss an example on this later)
Before we connect an event, we need to define the function that will trigger alongside the event. So we will create a simple function called display() that will print out a simple message to the console. All functions which are connected to events receive an “event” object as a parameter, which contains information about the event.
def display(event):
    print("Mouse button was clicked!")
Now we need to connect the event to our Matplotlib figure. This is done using the mpl_connect() method, on the canvas attribute for the figure. The first parameter is the name of the event, and the second is the function that will be triggered when the event occurs.
fig.canvas.mpl_connect("button_press_event", display)Now that we have our complete code, we can run the output and test it out ourselves.
import tkinter
import matplotlib.pyplot as plt
import numpy as np

def display(event):
    print("Mouse button was clicked!")

fig, ax = plt.subplots()
t = np.arange(0, 3, .01)
line, = ax.plot(t, 2 * np.sin(2 * np.pi * t))
ax.set_xlabel("time [s]")
ax.set_ylabel("f(t)")

fig.canvas.mpl_connect("button_press_event", display)
plt.show()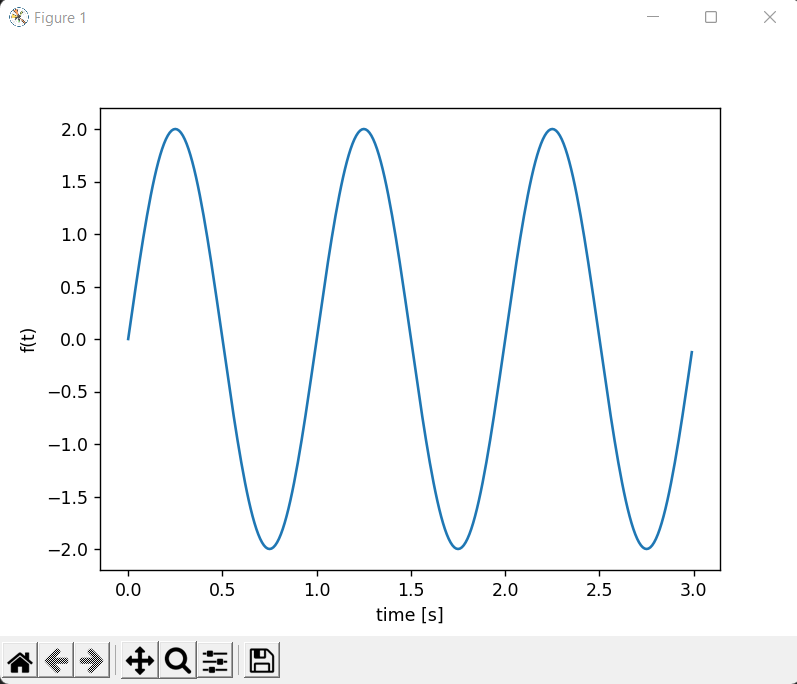
Currently, our event handling function is rather useless, and doesn’t tell us much about “what” or “where” the event occurred. Lets take a look at some techniques to discover more about the event, so we can take proper action.
The Event Object
We can find out “where” the click was made by extracting the coordinates from the event object.
def display(event):
    print(event.xdata, event.ydata)
    print("Mouse button was clicked!")
Here is the expected output (from a random click)
1.6223161290322585 0.9142857142857146
Mouse button was clicked!
We can also find out what object the event occurred with. For example, if we plot a scatter plot and click on a specific point, we can actually access that object (point). These objects are referred to in Matplotlib as “Artists”
def display(event):
    print(event.artist)
You can access them using the .artist attribute. Keep in mind however, that not all events will likely return an Artist object (depending on their nature). One such event that does return an Artist, is the “pick_event“.
The Mouse Event does not have one, so it will simply return an error (as well as any other event that doesn’t deal with interacting with artists)
A common confusion regarding this event is figuring out which mouse button was clicked. There are three mouse buttons (typically) on every mouse. So how do we know which one was clicked? We may want different behaviors depending on which mouse button clicked.
def display(event):
    if event.button == 1:
        print("Left Mouse button was clicked!")
    elif event.button == 3:
        print("Right Mouse button was clicked!")
The exact same concept applies to the “key press event” too. If you are having trouble with any event, just print out the event object. It will show you the properties inside it, which you can then access as an attribute, like event.property.
To find out which “key” was pressed, simply access the .key attribute, just like how we did .button for the mouse.
Further Reading
The “Pick Event” is a very interesting and useful event in Matplotlib. You can use it to actually interact properly with the points, lines or any other plotted object using the mouse. We have a dedicated tutorial on this event that you should definitely read if you are interested.
This marks the end of the Matplotlib Events and Event Handling Tutorial. Any suggestions or contributions for CodersLegacy are more than welcome. Questions regarding the tutorial content can be asked in the comments section below.
What if I need to get the vales of event.x or event.y outside to the main program. I need to involve them in further computations, not only printing them. In other words, how can I make this event-handling function return variables outside the function to the main program? Thanks!