This is tutorial number 1 in the Pygame RPG series
Introduction
This is the very first tutorial in our Pygame RPG series. In this tutorial we’ll focus on building the overall “base” or “frame” for our Pygame RPG . We’re going to start off with an explanation as to what type of RPG we’re actually going to create.
Once the explanation is done, we are going to begin writing the code. For this tutorial, we’re simply going to initialize all the variables, create the base version of the Game loop and setup the Classes we’re going to building upon later.
Note:
In the early stages of this tutorial you may often wonder why we’re doing things in a specific manner, or why we didn’t pick an easier (shortcut) method. We may be adding variables which are not being used, or classes that seem to have no purpose.
Rest assured, everything is there for a reason and will be well utilized completely by the end of this tutorial series. There is always room for improvement though, and you can try to improve and optimize the game further yourself.
Game Explanation
Full disclaimer, if you’re expecting some kind of full open world 3D- RPG or anything remotely similar, turn back right now and search for either the Unity or Unreal Game Engines.
The game we are creating is a simple 2-D RPG game, with basic RPG elements and game concepts. Pygame (unfortunately) is a library best kept to individual simple 2-D projects. That said, there’s a lot that this tutorial will teach you about how game development really works.
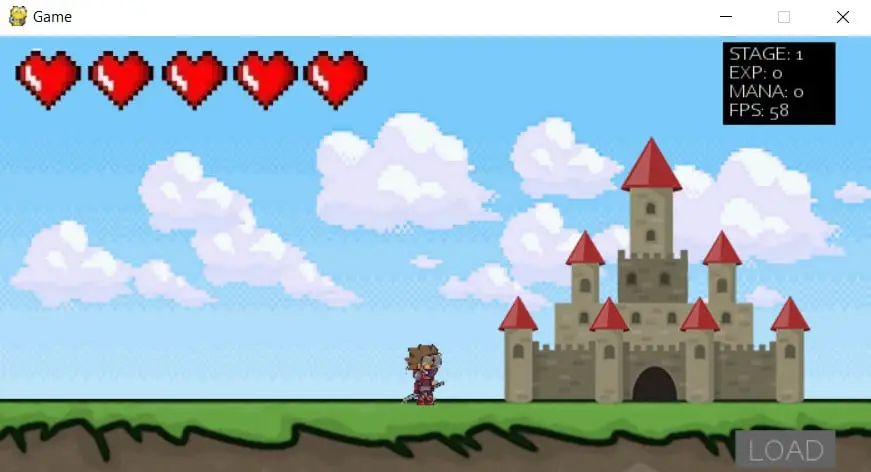
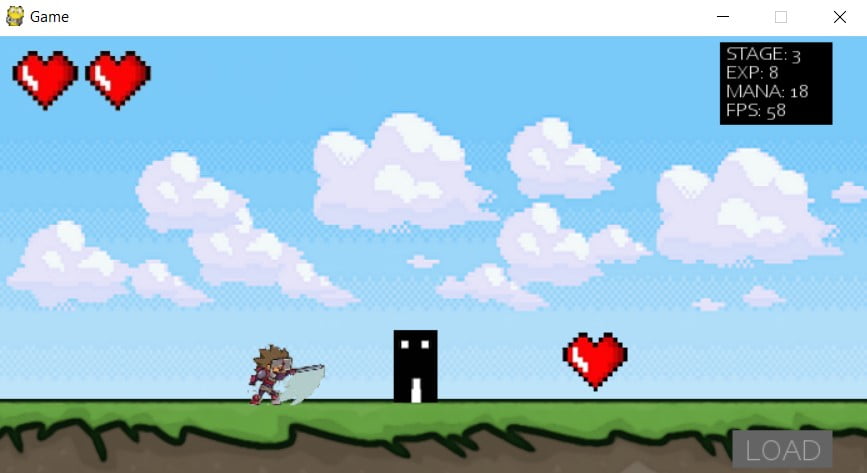
Our game concept is simple. We will be controlling a standard Player sprite with which we will interact with the world. There are multiple dungeons to select from, where enemies will generate and attack you. You gain experience and “mana” points from killing each enemy. Mana can be used to unleash special attacks such as a ranged fireball. Enemies may drop items at random such as hearts which restore health.
We’ve also included some screenshots from a later version of the game to help you visualize what we’re going to be creating.


Importing Libraries
First step is to import the required libraries. To use pygame itself, only the first two imports in the code below are required. However, the sys and random libraries provide us with functions nessacery in creating a proper game, hence we are using them too.
import pygame
from pygame.locals import *
import sys
import random
from tkinter import filedialog
from tkinter import *
The last two libraries are for the GUI library Tkinter. We will be using Tkinter to generate additional windows at a certain point in the tutorial series.
Initializing Variables and Settings
Here we are initializing many of the constants and objects we will be using frequently later on.
The first line pygame.init() initializes the pygame library. The second line creates a vector object, vec. It’s nothing complicated, it’s just a variable with two components X and Y. We’ll be using it to record the X and Y position of the Player sprite later on.
pygame.init()  # Begin pygame

# Declaring variables to be used through the program
vec = pygame.math.Vector2
HEIGHT = 350
WIDTH = 700
ACC = 0.3
FRIC = -0.10
FPS = 60
FPS_CLOCK = pygame.time.Clock()
COUNT = 0
The HEIGHT and WIDTH constants define the width and height of the screen. ACC and FRIC are for acceleration and friction respectively, which we’ll use while creating the physics for our game.
FPS defines the number of frames per second. In simpler words it defines how many times the game loop will run in a single second. FPS_CLOCK is a clock object which we will use later with FPS to actually limit the game loop to 60 frames per second.
displaysurface = pygame.display.set_mode((WIDTH, HEIGHT))
pygame.display.set_caption("Game")
These two lines immediately follow the last block of code. The first line creates the display for our pygame video using the height and width we defined earlier. The second line just changes the title of the window from it’s default “Pygame”.
Initializing the Classes
The next thing we’ll do is to create the barebones of the main classes. This serves no purpose right now. It’s merely to show you a preview of the most important classes we’ll be working with later.
class Background(pygame.sprite.Sprite):
      def __init__(self):
            super().__init__()


class Ground(pygame.sprite.Sprite):
    def __init__(self):
        super().__init__()


class Player(pygame.sprite.Sprite):
    def __init__(self):
        super().__init__()


class Enemy(pygame.sprite.Sprite):
      def __init__(self):
        super().__init__()
As you might expect, the Player class will contain the code for our Player Sprite, whereas the Enemy class has code for the enemies our Player will face. The Background and Ground class are there to control the visual look and feel of the Game.
Creating the Game and Event Loop
A game loop is not just a pygame concept, it’s a an actual game development concept. The idea is that a game loop should run infinitely, since in theory a game should be able to run forever (until you turn it off).
The simplest way to do this here is to create a while loop with True as the condition. Such a loop will run forever unless shutdown deliberately.
while True:

    for event in pygame.event.get():
        # Will run when the close window button is clicked
        if event.type == QUIT:
            pygame.quit()
            sys.exit()

        # For events that occur upon clicking the mouse (left click)
        if event.type == pygame.MOUSEBUTTONDOWN:
              pass

        # Event handling for a range of different key presses
        if event.type == pygame.KEYDOWN:
              pass
The code in the game loop is highly essential. Everything within the game loop is meant to be code that needs to be refreshed or updated every frame.
One important feature that needs to be in the game loop is the event management. Pygame will create an “event” every time something happens, like a keyboard key press or mouse click. Iterating over pygame.event.get() returns all the list of events allowing you to act on each one.
As you can see, we have made three if statements within a for loop (used to iterate). There are three mains kinds of events we’re going to be looking out for. The QUIT event, used to quit pygame, the MOUSEBUTTONDOWN event, used to detect mouse clicks and KEYDOWN event, used to detect key presses (Using the type attribute on an event will return it’s type).
For now we have left all these code blocks empty using the placeholder pass . We’re just creating the skeleton of the game here. If you don’t understand right now, don’t worry too much. You’ll see how it’s used later on in the series.
Next Section
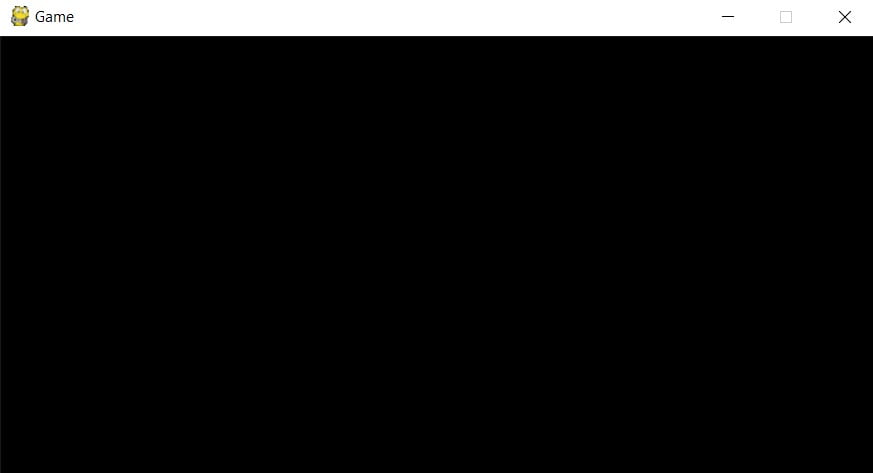
Uptil now we have nothing to display. Running our code will only give us the default black Pygame window. (pictured below)

In the next tutorial we’ll be working on actual graphics for our game. Click on the button below to proceed!
This marks the end of the Pygame RPG “Building the Base” Tutorial. Any suggestions or contributions for CodersLegacy are more than welcome. Questions regarding the article content can be asked in the comments section below.

Tkinter is no longer included as a part of Python 3.9, so I received an error when importing. For others running into this is “brew install [email protected]” (or using another package manager) fixes that problem.
any version within the 3.8 realm seems to be the ticket, for overall functionality at the moment. 👍🏽