
This article covers the PyQt6 QTextEdit widget.
Like its other counterpart, the QLineEdit widget, QTextEdit is used to take input from the user in the form of text. Unlike QLineEdit which only takes input in a single line, the PyQt6 QTextEdit Widget offers a larger area where the User can input several lines of text, or even several paragraphs. (Also known as multiline input)
You will find a list of useful methods for the QTextEdit Widget available at the end of this page.
Creating a QTextEdit Widget
To create a basic QTextEdit widget, use the QTextEdit Class from the QtWidgets module. This creates a QTextEdit object, we can later manipulate with various options and methods.
Below is the implementation and syntax of a simple QTextEdit in PyQt6.
from PyQt6.QtWidgets import QApplication, QWidget, QTextEdit
import sys


class Window(QWidget):
    def __init__(self):
        super().__init__()
        self.resize(300, 250)
        self.setWindowTitle("CodersLegacy")

        self.input = QTextEdit(self)

app = QApplication(sys.argv)
window = Window()
window.show()
sys.exit(app.exec())
The GUI output of the above code:
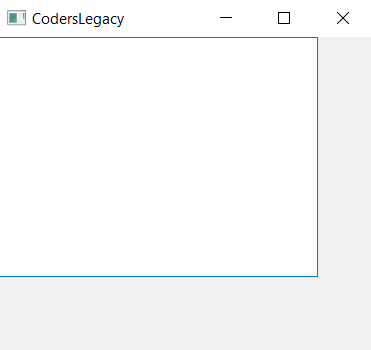
As it is now, there are some flaws and short comings in our QTextEdit. Let’s try and make some adjustments and explore what else we can do with it.
First let’s make a QTextEdit widget which expands to full all available space, as well as expand and resize along with the Window. To do so, we need to first place it in any of the Layout Managers in PyQt6. After that, we adjust the SizePolicy, using the QSizePolicy Class and setSizePolicy() function. There are several policies available, such as Minimum, Expanding, Fixed, Maximum.
Note: Typically, placing a widget like QTextEdit into a layout makes it expand automatically, so let’s adjust the Size Policy to make it only expand in the Y-direction. We will use Fixed policy for X-axis, and Expanding for the Y-axis.
from PyQt6.QtWidgets import (
    QApplication, QWidget, QTextEdit, QSizePolicy, QVBoxLayout
)
import sys


class Window(QWidget):
    def __init__(self):
        super().__init__()
        self.resize(300, 250)
        self.setWindowTitle("CodersLegacy")

        layout = QVBoxLayout()
        self.setLayout(layout)

        self.input = QTextEdit(self)
        self.input.setSizePolicy(QSizePolicy.Policy.Fixed,
                                 QSizePolicy.Policy.Expanding)
        layout.addWidget(self.input)


app = QApplication(sys.argv)
window = Window()
window.show()
sys.exit(app.exec())
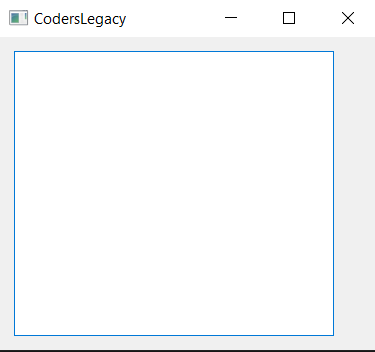
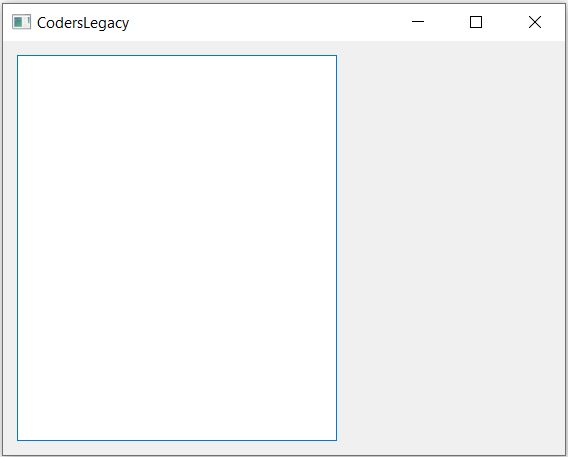
After re-sizing:
Alternatively, if you just a small QTextEdit input area, you can use the Size functions to set a fixed size for it.
        self.input = QTextEdit()
        self.input.setFixedSize(200, 100)
        layout.addWidget(self.input)

Retrieving Text from QTextEdit
Now it’s time to get the entered text from the user. Using the toPlainText() method and the Button widget, we can accomplish our goal.
from PyQt6.QtWidgets import (
    QApplication, QWidget, QTextEdit, QPushButton, QVBoxLayout
)
import sys

class Window(QWidget):
    def __init__(self):
        super().__init__()
        self.resize(300, 250)
        self.setWindowTitle("CodersLegacy")

        layout = QVBoxLayout()
        self.setLayout(layout)

        self.input = QTextEdit()
        layout.addWidget(self.input)

        button = QPushButton("Print Text")
        button.clicked.connect(self.display)
        layout.addWidget(button)

    def display(self):
        print(self.input.toPlainText())

app = QApplication(sys.argv)
window = Window()
window.show()
sys.exit(app.exec())
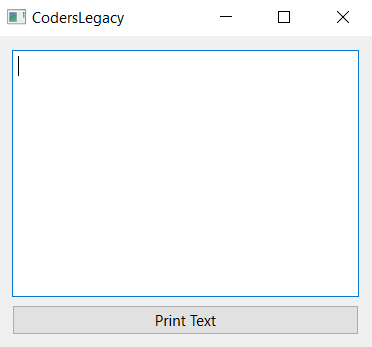
The Output: (Run it yourself and interact with the button to see the proper effect!)
move() is a very basic way of positioning elements, and not suitable for actual projects. PyQt6 has support for proper layout managers, which actually manage the positioning of the widgets inside the window. Learn more about them in our PyQt6 layout management tutorial.
QTextEdit Methods
A compilation of all the important methods for the QTextEdit widget.
| Method | Description |
|---|---|
toPlainText() | Returns the displayed text on the TextEdit widget. |
setPlainText() | Used to set the displayed text on the widget. |
setReadOnly(bool) | Used to set whether the widget is going to be read-only (cannot be written to) or not. |
isReadOnly() | Returns a Boolean value depending on whether the TextEdit is read only or not. |
setPlaceholderText(text) | Used to set some grayed out text into the widget that disappears when the widget is interacted with. |
setUndoRedoEnabled(bool) | Disables/Enables the ability for the user to use the Undo and Redo features. |
isUndoRedoEnabled() | Returns a True or False value depending on whether Undo/Redo is enabled. |
We went through the dozens of different methods in the documentation and picked the ones we thought might be the most useful.
Interested in learning more about PyQt6? Follow the link!
This marks the end of the PyQt6 QTextEdit article. Any suggestions or contributions for CodersLegacy are more than welcome. Questions regarding the article content can be asked in the comments section below.