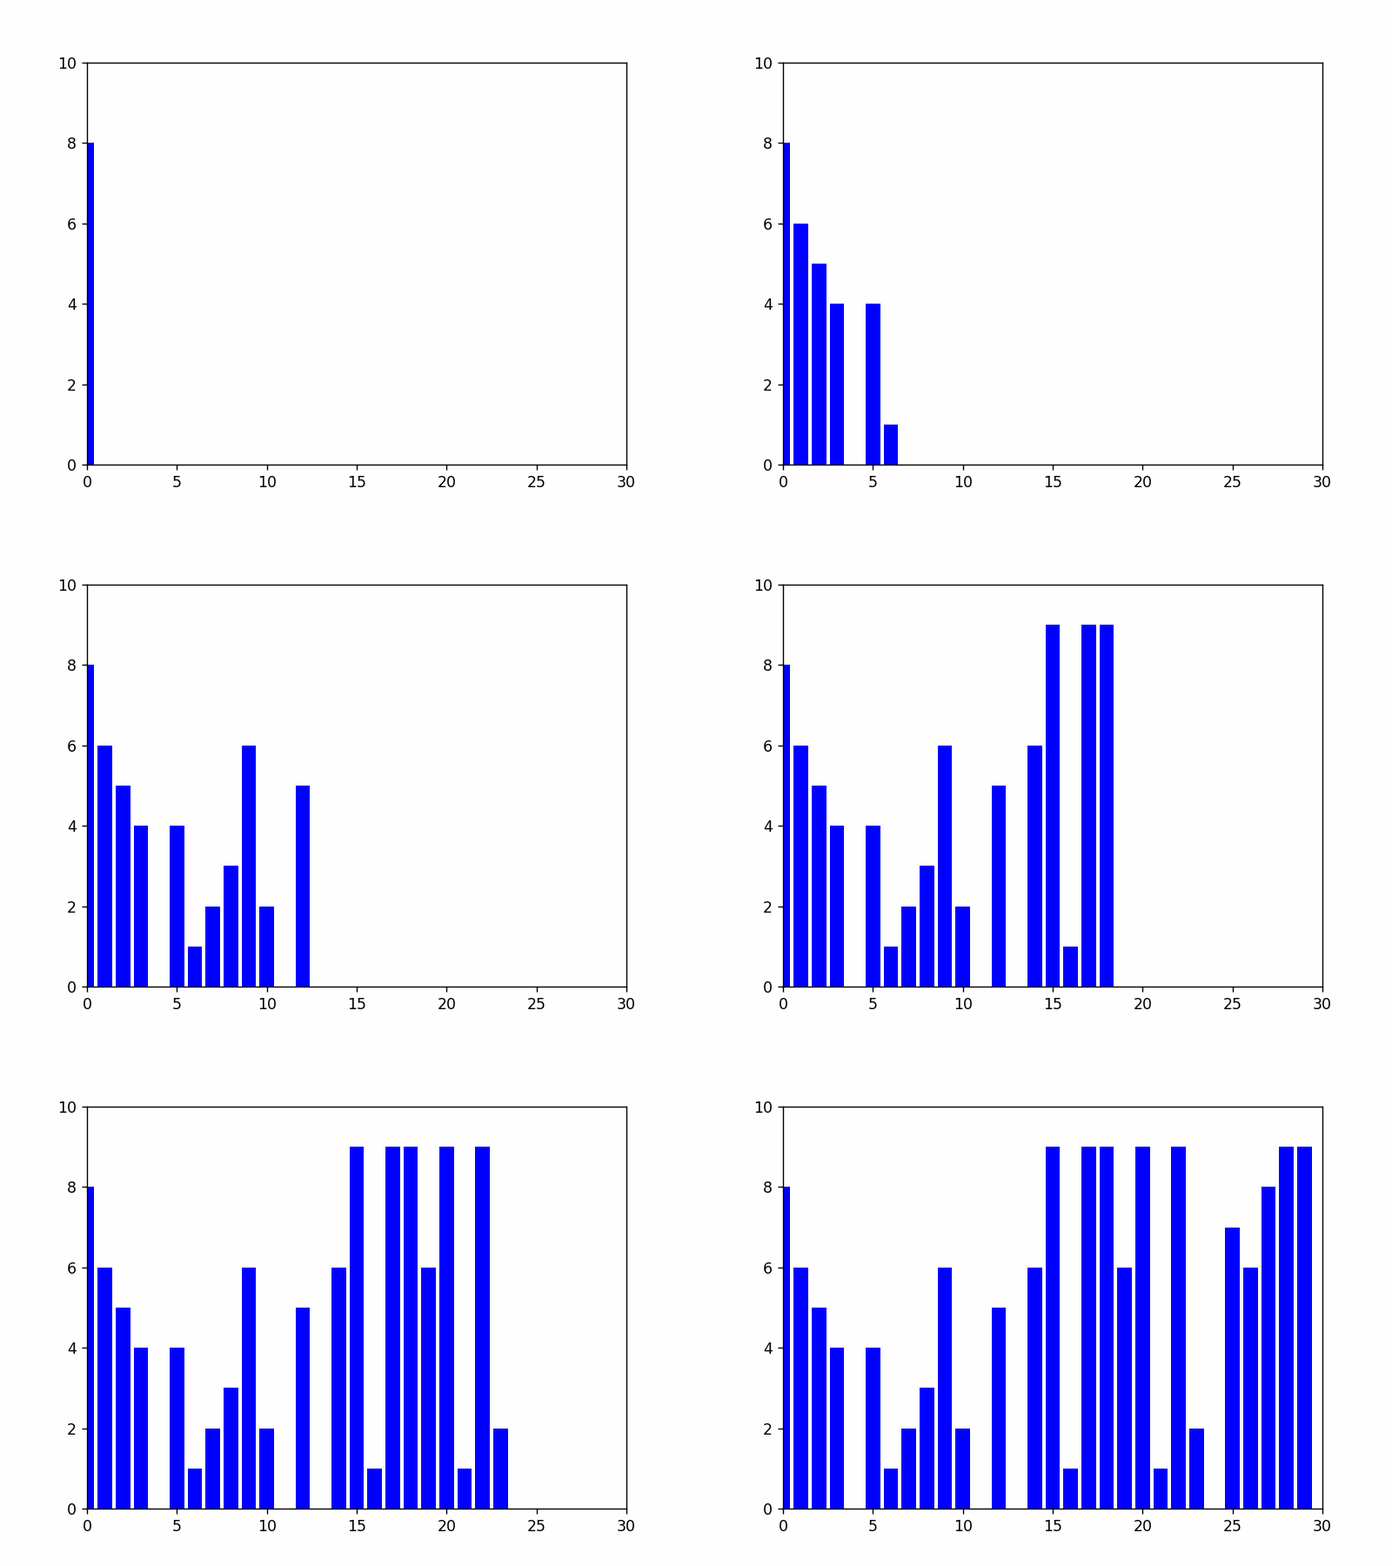
Matplotlib gives us the ability to animate our plots and graphs. Along with this, Matplotlib also gives us the ability to save animations for later viewing or for use in some other program as a GIF or Video file.
Matplotlib gives us several functions and video formats in which we can save our animations. We will be going through all of these options in this tutorial.
Save Matplotlib Animations as GIFs
Saving animations in Matplotlib requires very little additional code. In fact, all you have to do is add a single line of code to your program to save your animations as a GIF.
anim.save('myanimation.gif')
The save() method on your animation object (which is returned by FuncAnimation) is used to save your animation to your file system. The filetype of the animation depends on the name of the file that you passed into the method. If you put the extension as .gif, it will save itself as a GIF.
You can see a complete example here.
import matplotlib.pyplot as plt
from matplotlib.animation import FuncAnimation
import numpy as np

fig, ax = plt.subplots()
x = range(30)
y = [0] * 30

bars = ax.bar(x, y, color="blue")
ax.axis([0, 30, 0, 10])

def update(i):
    y[i] = np.random.randint(0, 10)
    bars[i].set_height(y[i])

anim = FuncAnimation(fig, update, frames = 30, interval=100)
anim.save('myanimation.gif')
plt.show()

It is possible that you might run into some errors or warnings while running this code. This is because by default, Matplotlib will probably try to use a software called ffmpeg to convert the animation into the required format. Chances are that you may be missing this software.
GIFs however, are relatively simple. If you do not have ffmpeg, matplotlib will attempt to use the Pillow Library in Python. If you have this library installed, you can save your animation to a GIF successfully without ffmpeg.
Saving Animations as a Video File
Often saving animations in the form of a video is a good idea. Besides the obvious differences, saving larger and more complex animations as a GIF is slow (The GIF will play very slowly), takes longer to create and uses up more space on your file system (10 times more with the example we are doing in this section)
Two popular formats that you can use to save videos are .avi and .mp4. Both are used the same way (syntax-wise). The only difference is in the name of the file. If you want an mp4 file, save it with a filename of filename.mp4, and for avi, use filename.avi.
import numpy as np
from matplotlib import pyplot as plt
import matplotlib.animation as animation
import matplotlib

fig, ax = plt.subplots(subplot_kw={'projection': 'polar'})

theta = np.linspace(0, 2*np.pi, 500)
r = 3 * np.sin(4 * theta)

line, = ax.plot([], [], 'r')
ax.set_rgrids((1, 2, 3))

def animate(i):
    line.set_data(theta[:i]+(r[:i]<0)*np.pi, np.abs(r[:i]))
    return line,

anim = animation.FuncAnimation(fig, animate, frames=500, interval=5, blit=True, repeat=False)
anim.save('anim.mp4')
plt.show()
Note: It will take some time for the animation to save. The plot will not display until that point.
Setting up FFMpeg
However, chances are that you ran the above code and it did not work for you. Alot of people will run into an error which says something like “ffmpeg not available”. This is a dependency that matplotlib requires that may or may not be already available on your system.
Luckily there is a very easy way of fixing this problem. Just follow the steps that we have outlined to first make ffmpeg available on your system, and then make some minor changes to our code.
First go to the official site for ffmpeg to download it.
Once you are on their site, you have to pick the OS which you are currently using. Once you do this, you will see various download options. Download either the essentials or full version of ffmpeg and place it somewhere on your system (such as your Desktop). Note down the filepath, as we will need to include this in our code.
Now go back to your Python program, and update your code with the following changes.
First we need to tell matplotlib where our ffmpeg.exe file is stored. The way to do this is shown in the below code.
matplotlib.rcParams['animation.ffmpeg_path'] = "C:\\Users\\CodersLegacy\\Desktop\\ffmpeg-5.0.1-essentials_build\\bin\\ffmpeg.exe"
Next we create an animation writer object, using the FFMpegWriter Class. We can also specify some extra details such as the bitrate, fps and metadata.
writer = animation.FFMpegWriter(fps=60, metadata=dict(artist='Me'), bitrate=1800)
Finally we pass this writer object into our save() method.
anim.save('anim.mp4', writer=writer)
Note: You can also ffmpeg for other things like GIFs and .avi files.
Here is the complete code:
import numpy as np
from matplotlib import pyplot as plt
import matplotlib.animation as animation
import matplotlib

fig, ax = plt.subplots(subplot_kw={'projection': 'polar'})

theta = np.linspace(0, 2*np.pi, 500)
r = 3 * np.sin(4 * theta)

line, = ax.plot([], [], 'r')
ax.set_rgrids((1, 2, 3))

def animate(i):
    line.set_data(theta[:i]+(r[:i]<0)*np.pi, np.abs(r[:i]))
    return line,

anim = animation.FuncAnimation(fig, animate, frames=500, interval=5, blit=True, repeat=False)
matplotlib.rcParams['animation.ffmpeg_path'] = "C:\\Users\\CodersLegacy\\Desktop\\ffmpeg-5.0.1-essentials_build\\bin\\ffmpeg.exe"
writer = animation.FFMpegWriter(fps=60, metadata=dict(artist='Me'), bitrate=1800)

anim.save('anim.mp4', writer=writer)
plt.show()
And here is the output:
This marks the end of the How to save Animations in Matplotlib Tutorial. Any suggestions or contributions for CodersLegacy can be asked in the comments section below. Questions regarding the tutorial content can be asked in the comments section below.
