
This tutorial explains how to use PhotoImage in Python Tkinter
Tkinter is a very well rounded GUI library with support for various GUI elements. One of the many features that Tkinter supports is the displaying of images within it’s GUI. This is accomplished using the Tkinter PhotoImage Class, which takes an image’s filepath and creates an object from it that can be used with the other GUI elements.
Using Tkinter PhotoImage
The process is quite simple. All you have to do is pass the file path of the Image you want to import, into the PhotoImage class. This creates an image object which Tkinter understands, allowing it to be used with other GUI elements like the Canvas or Labels.
Here is our PhotoImage example code:
from tkinter import *

root = Tk()
image = PhotoImage(file="Python.png")
We now have our image object stored in the variable image. In the section we’ll explain how to actually display this image now.
If the image you want to display is not in the same folder/directory, then you’ll have to specify the entire filepath, not just the name of the file.
Displaying the Image
As mentioned earlier, we need a suitable GUI element to actually display the image. Surprisingly, most GUI elements do support it in one way or the other. Let’s quickly go through them.
Tkinter Label (Image)
from tkinter import *

root = Tk()
image = PhotoImage(file="python.png")

label = Label(root, image = image)
label.pack()
root.mainloop()
Several GUI elements, such as labels and buttons have the image parameter to which you can assign a suitable image object, just as we have down in the above code.
The output is as shown below.

Keep in mind that Tkinter itself does not have the ability to control (resize) the images it displays. The image displayed above was displayed in it’s original dimensions (size).
Displaying Images on a Canvas
The Tkinter canvas is designed to support features like drawing shapes, images and even displaying images. Hence it has a little more control over the images than the Tkinter Label does.
from tkinter import *
root = Tk()
image = PhotoImage(file="python.png")
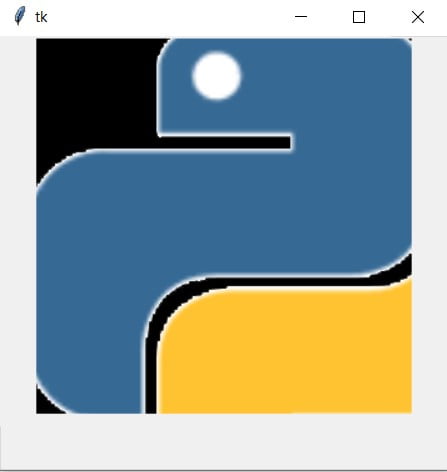
canvas = Canvas(width = 300, height = 300, bg='black')
canvas.create_image(200, 200, image = image)
canvas.pack()
root.mainloop()
The first two parameters in the create_image() function represent the width and height of the image respectively. However, as you can see in the image below, that image appears to be cropped. This is because the dimensions we gave the image were too small.
Displaying Images on Buttons
Even though is a tutorial on the Tkinter PhotoImage class, I want to show you some other options as well. In the below code we use a combination of PhotoImage + Pillow (python image library) to display the image in the required format.
We open the Image using Pillow’s open() function, followed by the resize function, which takes a tuple containing the new width and height. Then we converted this image to a Tkinter compatible format using ImageTk.PhotoImage().
from tkinter import *
from PIL import Image, ImageTk
root = Tk()
root.geometry('200x200')
image = Image.open("python.png")
image = image.resize((20, 20))
image = ImageTk.PhotoImage(image)
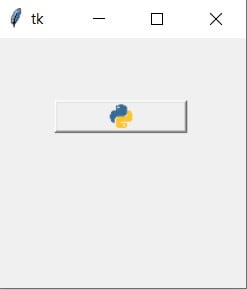
button = Button(width = 100, height = 20, image = image)
button.pack(padx = 20, pady = 50)
root.mainloop()
We add the final image to the button the same way we did with the labels, and we get the following output. Personally, I think it looks pretty good. Resizing it was nessacery, otherwise the image would have inflated the size of the button.
This marks the end of the Tkinter PhotoImage tutorial. Any suggestions or contributions for CodersLegacy are more than welcome. Questions regarding the tutorial content can be asked in the comments section below.
thank u