
Creating complex and visually appealing interfaces can be time-consuming and difficult with Tkinter alone. GUI development requires writing alot of code, including carefully positioning each GUI element for a proper layout. Lucky for us, there is an easier way of doing this using the Tkinter GUI Designer, which converts Figma documents into Tkinter applications that we will discuss in this tutorial.
Figma provides us with drop and drag functionality, easy customizations, and easy to use interface. We can design an entire GUI interface in a manner of minutes using Figma. Using the Tkinter GUI designer library, we can convert your Figma application to Tkinter in less than minute.
Let’s find out how.
Step 1: Install Tkinter GUI Designer
To install the Tkinter GUI Designer library, run the following command in the terminal.
pip install tkdesignerYou can also choose to copy the source code directly from GitHub and install its requirements yourself.
git clone https://github.com/ParthJadhav/Tkinter-Designer.git
pip install -r requirements.txt
Those of you on Linux or MacOS may need to use pip3 instead of pip.
Step 2: Design your GUI in Figma
Next we need to go the Figma website, and design our GUI in there. This is not a tutorial on Figma, so we will only discuss the basics here, required to make a Tkinter application.
On the top-left hand corner, you will see a menu of options. Click on the “Frame”, then drag and release your mouse in the center to create a basic background for our window.
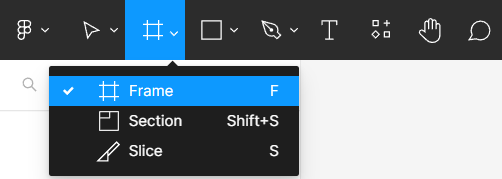
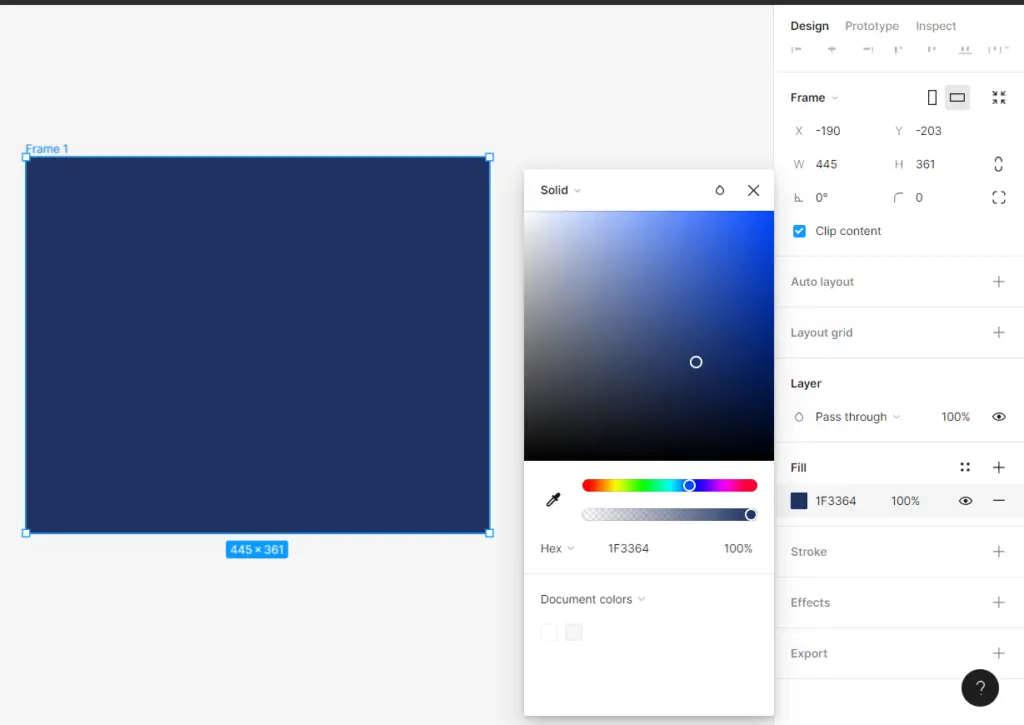
You can add or customize the properties (e.g color, borders) for this Frame on the right-hand side of the screen.
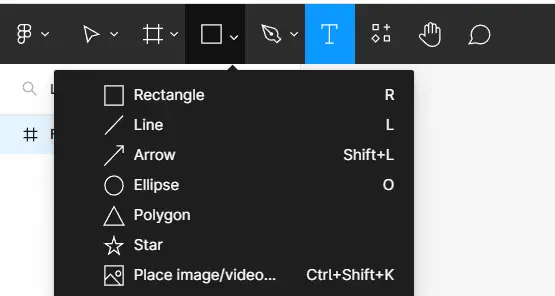
You can add more shapes and text from the menu in the top-left hand corner.
Feel free to design this however you wish.
There are however, some limitations you need to be aware of. Since Figma is just a designing tool, it has nothing like an “entry widget”. Instead we represent an entry widget by simple creating a rectangle, and naming it “TextBox”. Names are quite important, as each Figma element must have a specific name (you need to rename them) in order to get correctly converted into a Tkinter widget by the Tkinter GUI Designer. Otherwise it won’t get recognized.
Here is a naming chart.
| Figma Element Name | Tkinter Element Name |
|---|---|
| Frame | Frame |
| Button | Button |
| Line | Line |
| Text | Name it anything |
| Rectangle | Rectangle |
| TextArea | Text Area |
| TextBox | Entry |
| Image | Canvas.Image() |
Here are some general guidelines and steps you should follow to properly create Figma Elements which can be converted into Tkinter.
1. Creating Text
A tkinter text widget can be created using the “Text” element in Figma, located on the top-left hand menu. Unlike the rest of the Figma elements, it actually does not matter what you name your Text elements. They will be correctly converted into Tkinter regardless of their names.
2. Creating Buttons
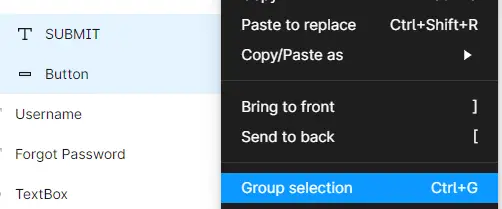
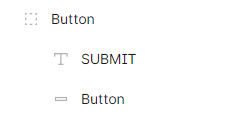
Buttons are a little more tricky, since we also need to add text to it. First, create a rectangle and name it “Button”. Next, create a Text element, with the text you want to have on the Button.
Now select both of these elements from the left-hand side of the screen (CTRL + mouse click). Then either press CTRL + G (shortcut), or right click and select “group” from the popup menu.
This gives us the following result.
3. Creating a TextBox (Entry)
Create a Rectangle element, and name it “TextBox”. Add any customizations that you would like to see.
4. Creating a TextArea
Create a Rectangle element, and name it “TextArea”. Add any customizations that you would like to see.
5. Creating a Line
Create a Line element (from the same menu as Rectangle), and name it “Line”. Add any customizations that you would like to see.
6. Creating a Frame
The method of creation was discussed earlier in this tutorial.
Just remember that you cannot nest two frames within each other. This will work on Figma, but the Tkinter GUI Designer does not support this feature (yet). You can have multiple frames, but not within each other.
7. Creating a Rectangle
While you can’t nest frames, you can use Rectangle instead to substitute. We usually use frames to show grouping, or to use different colors in our window. Simply create a Rectangle element (with the name “Rectangle”) anywhere inside a Figma Frame, and then place the other elements inside it.
You can then change the color of the rectangle. You may need to “send to back” the rectangle so the other Figma elements show over it. This can be done by right clicking the rectangle and selecting the correct option.
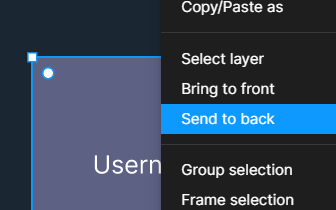
The above image shows you a gray rectangle inside a dark blue frame. There is some text inside the rectangle.
8. Adding Images
To add images, copy paste an image into Figma, and rename it “Image”.
Tkinter GUI Designer Tutorial
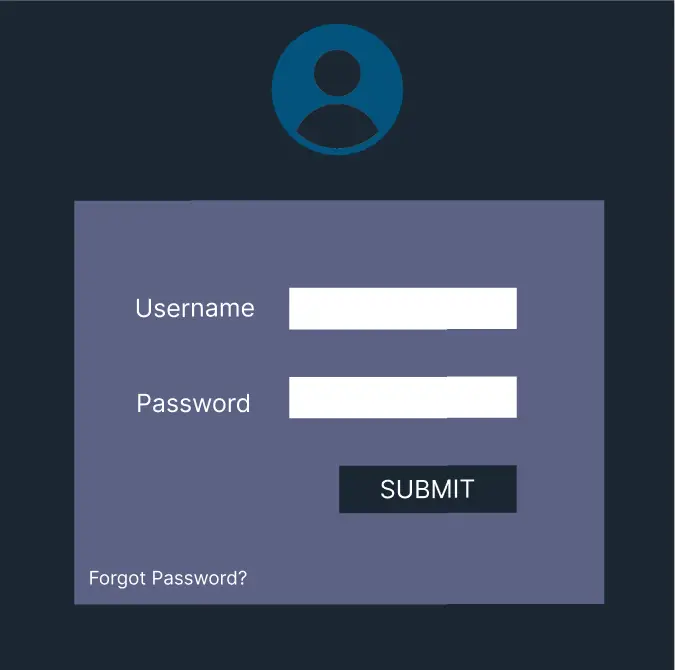
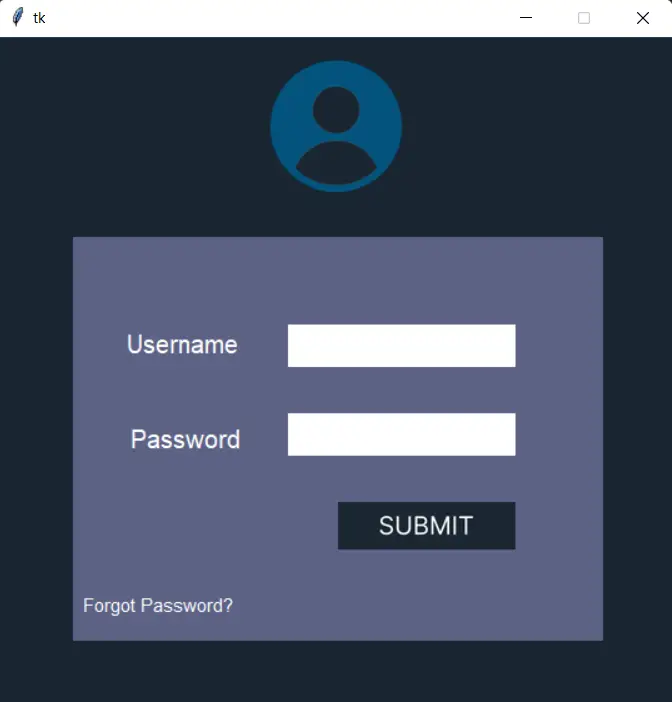
For this tutorial, we have created the below application using Tkinter GUI Designer in Figma. Now we can begin converting it to a Tkinter application.
Step 3: Convert Figma Design to Tkinter
We need two things to convert our newly created Figma design into Tkinter. The URL of the Figma document, and an access token.
You can acquire the URL from the search bar.

To get the access token, go to the Figma homepage, and access your account settings. Scroll down until you see the following option.
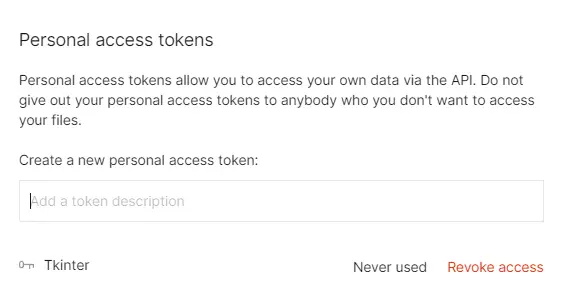
Write any name inside the textbox, and hit enter. This will generate a new access token. Copy paste this somewhere safe (like a text file). The access token is viewable only once, upon its creation.
Now run the following command in the terminal.
tkdesigner "URL" ACCESS_TOKENURL and ACCESS_TOKEN are just placeholders. You need to replace them with your actual URL and access token. Make sure the URL is surrounded by quotes.
Run the above command, which should create a new folder with the new code. Open this folder and run the gui.py file to open your new tkinter application.
Here is our output.
If you have any issues, it’s most likely due to naming errors. Review those. You can also try removing elements one by one to see what solves the problem.
Step 4: Customizing the Tkinter Application
The code produced by Figma isn’t exactly very pretty, but its functional. You can further customize or modify the code if you wish, by adding new features, or connecting to an existing program of yours. Custom event handlers for buttons for example, will need to be defined.
Figma produces the look, but very little functionality. That part is up to you.
This marks the end of the Tkinter GUI Designer Tutorial. Any suggestions or contributions for CodersLegacy are more than welcome. Questions regarding the tutorial content can be asked in the comments section below.
1 thought on “Tkinter GUI Designer Tutorial (Figma to Tkinter)”